I swear every birthday theme goes through trends just like home decor or backpacks at Target. The classic Disney Ariel still works, but lately I’ve noticed kids really like invitations that feel brighter, cleaner, and have lots of little underwater details instead of giant character photos taking over the whole page.
For these newer templates, I leaned into soft ocean blues, seafoam green, lavender, coral pink, and little hints of gold that almost sparkle without making the invitation look overwhelming. Instead of stuffing every inch with fish and bubbles (been there…), I left more breathing room.
And honestly? It printed way prettier.
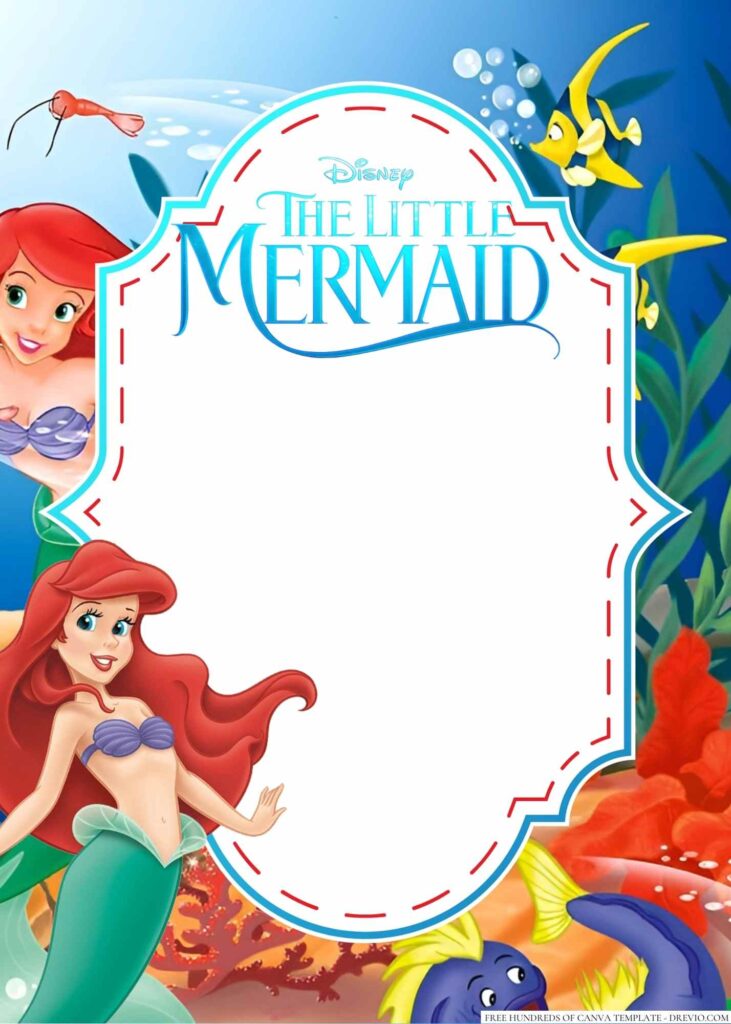
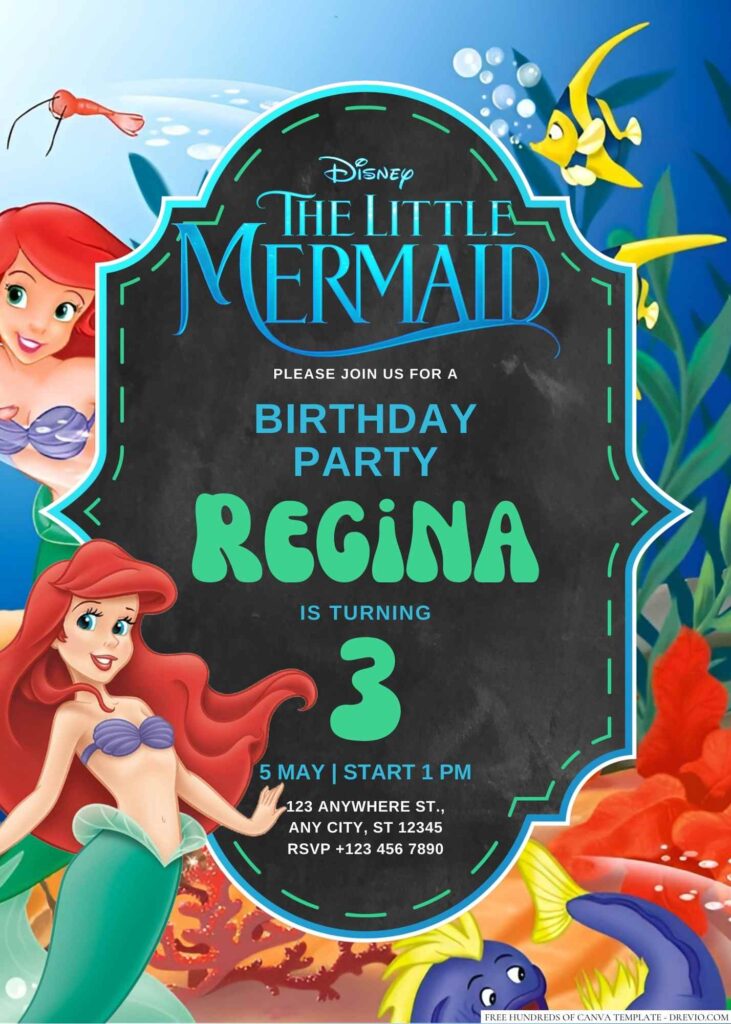
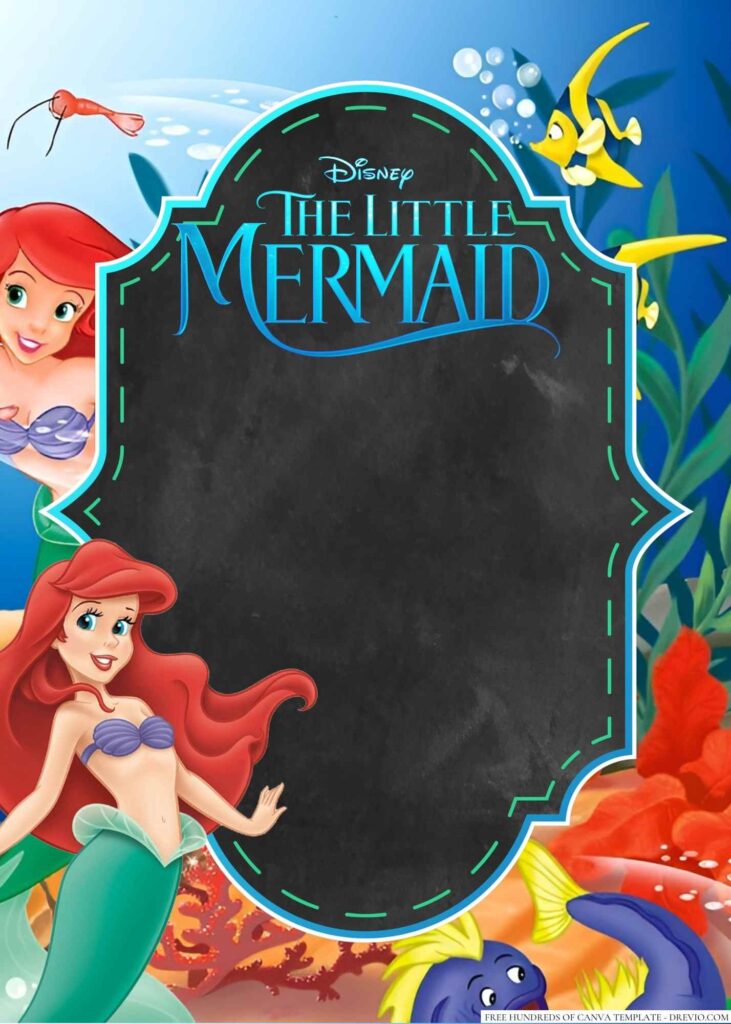
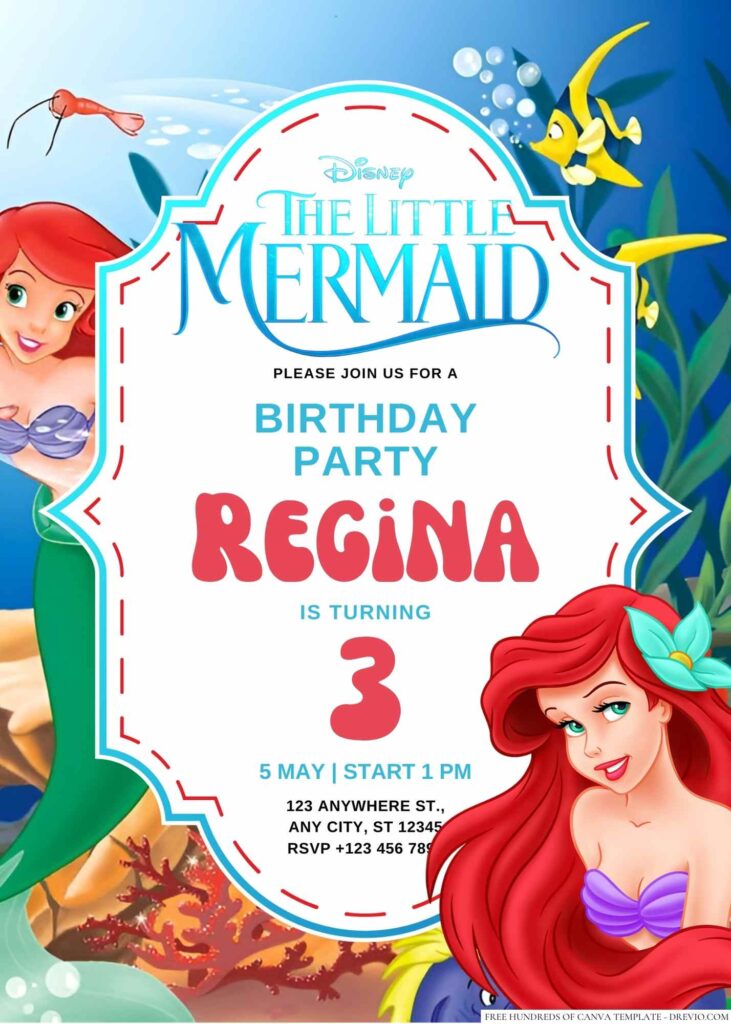
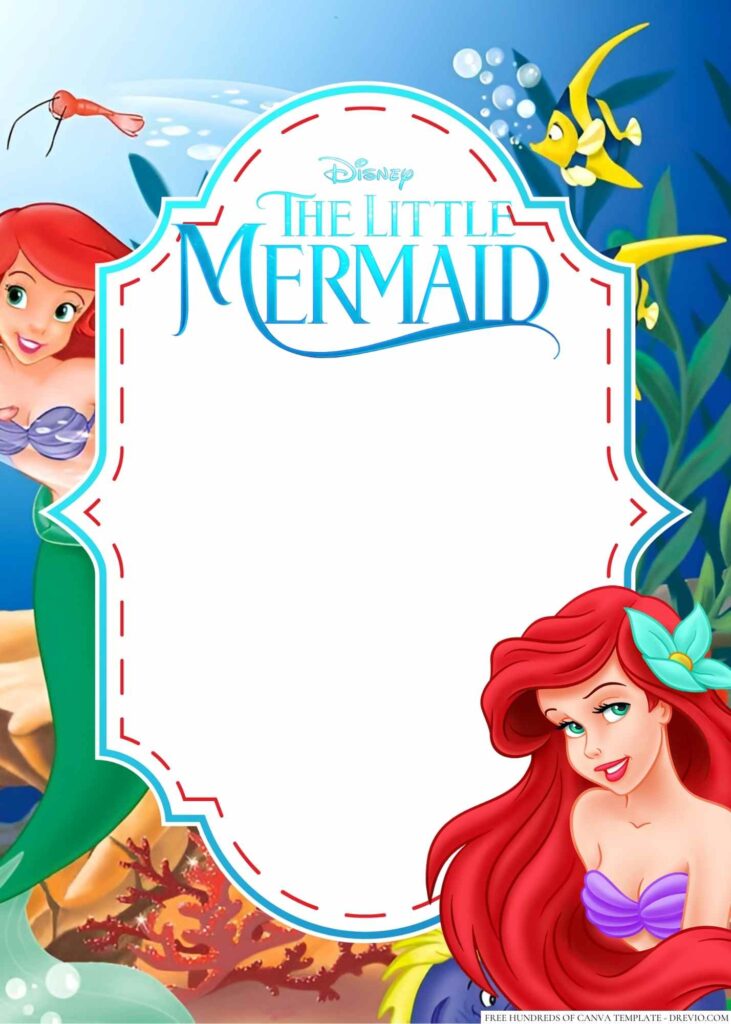
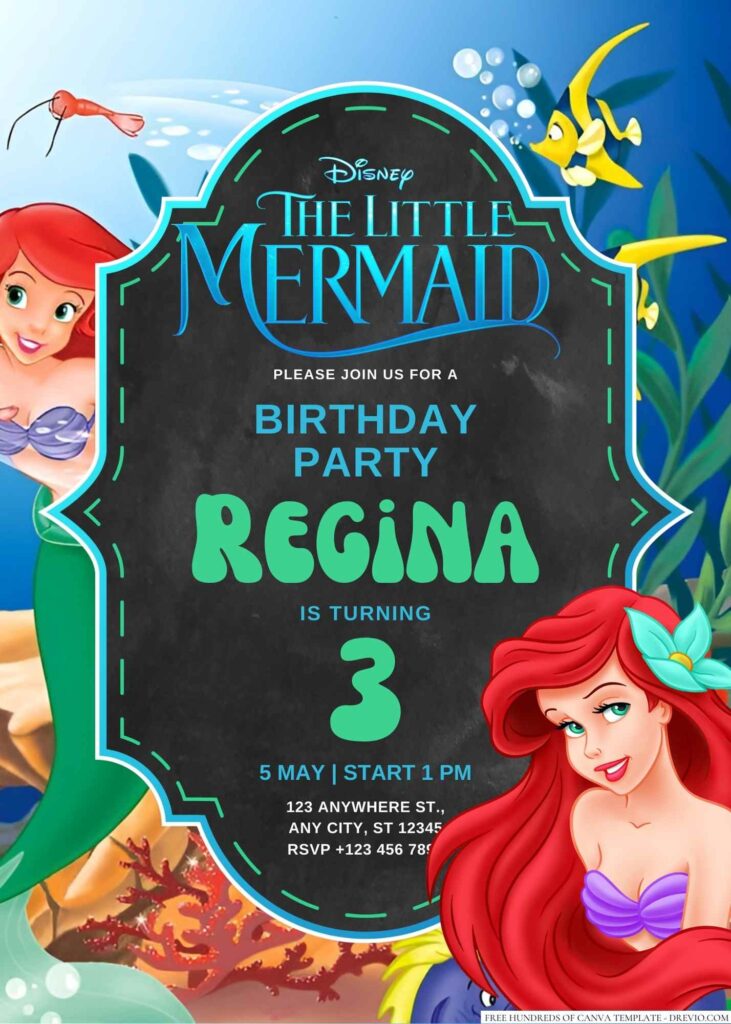
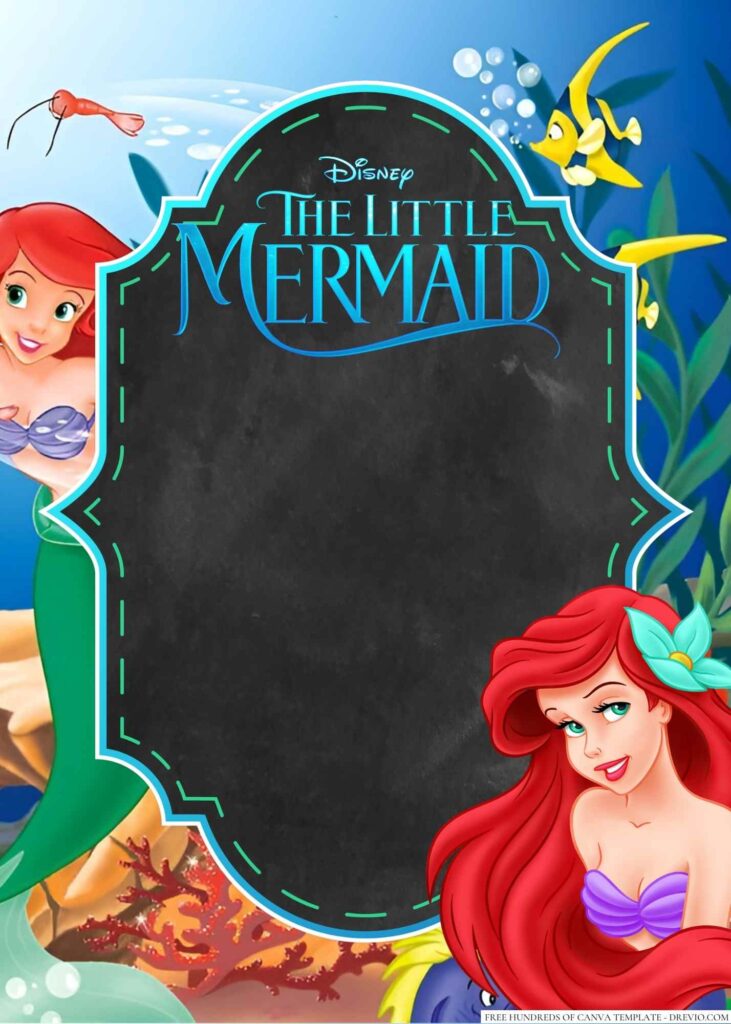
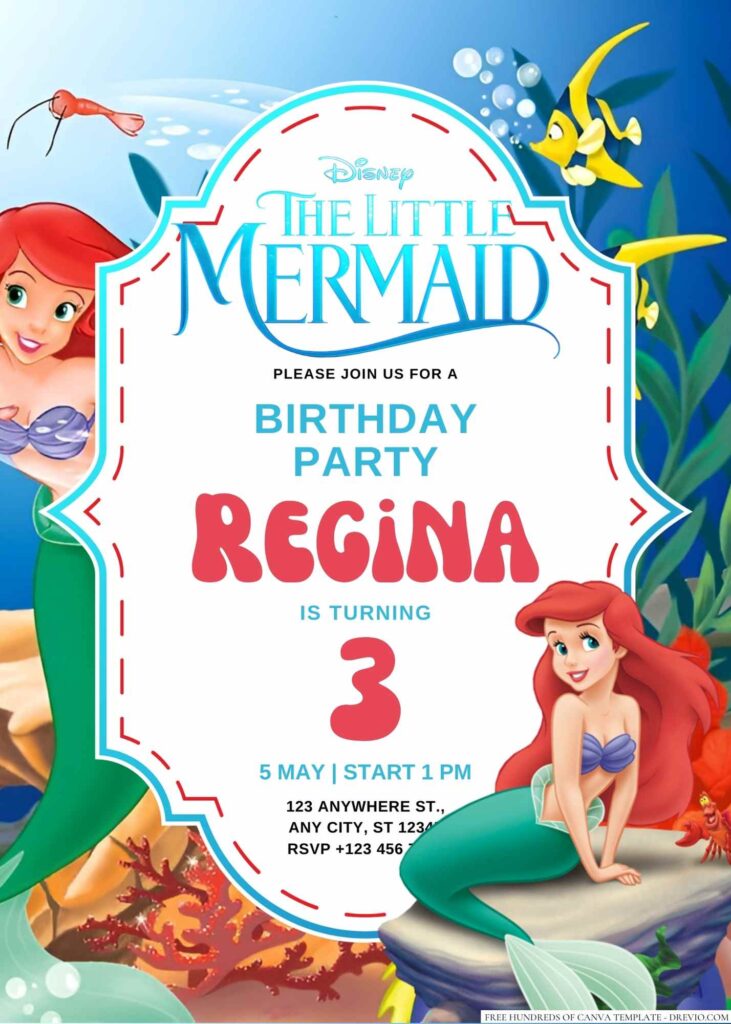
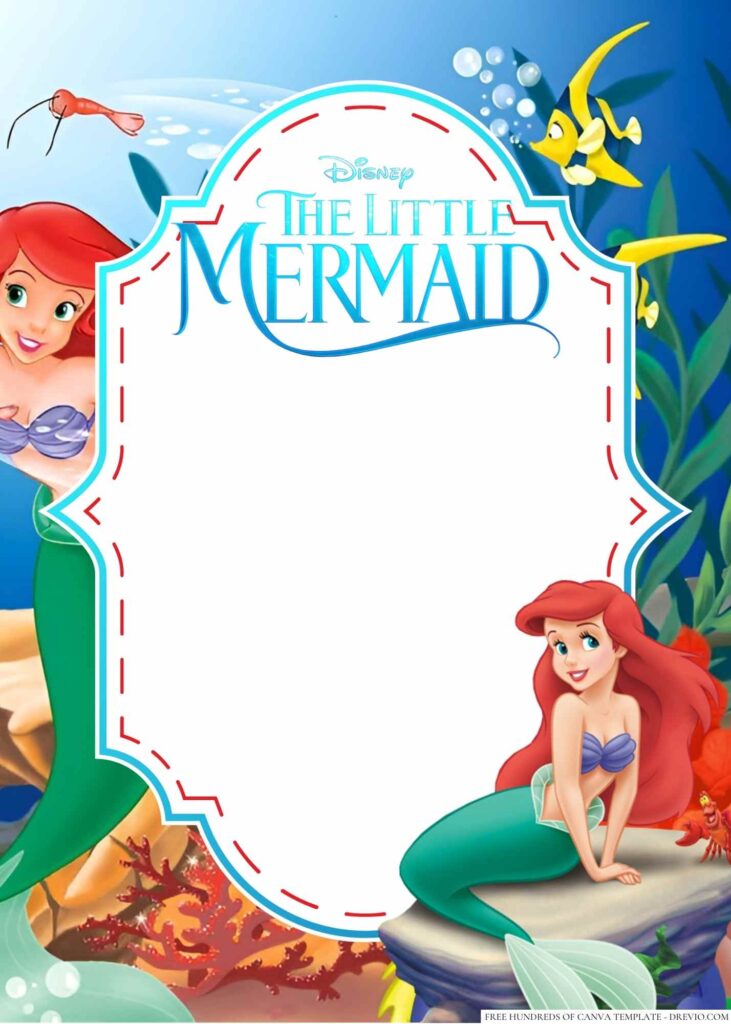
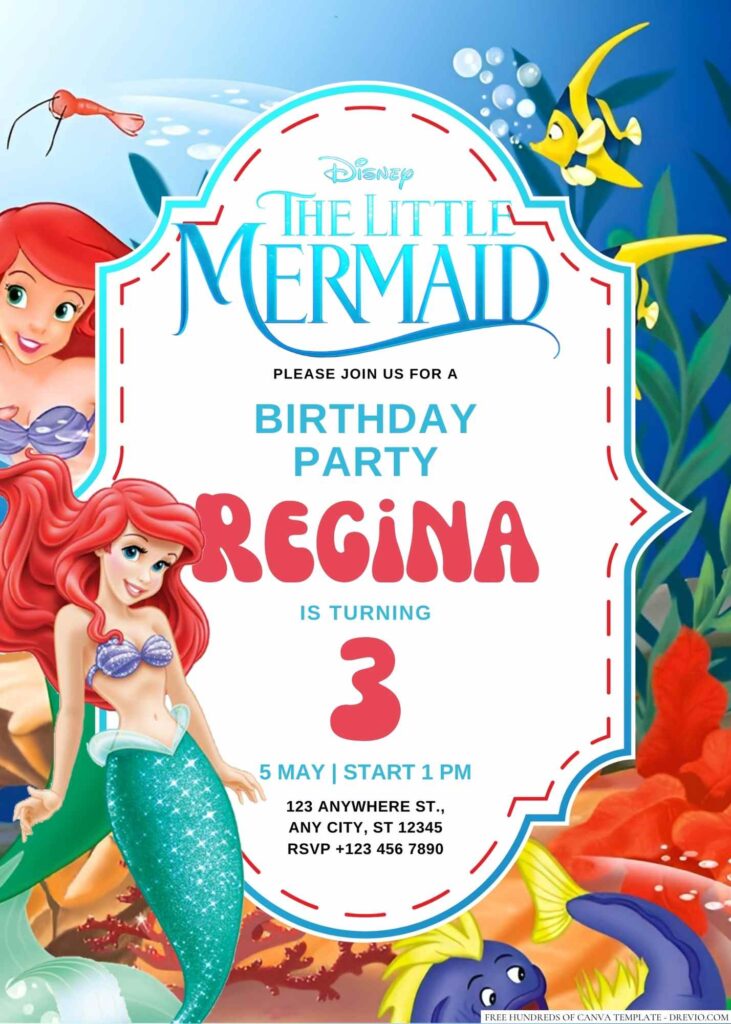
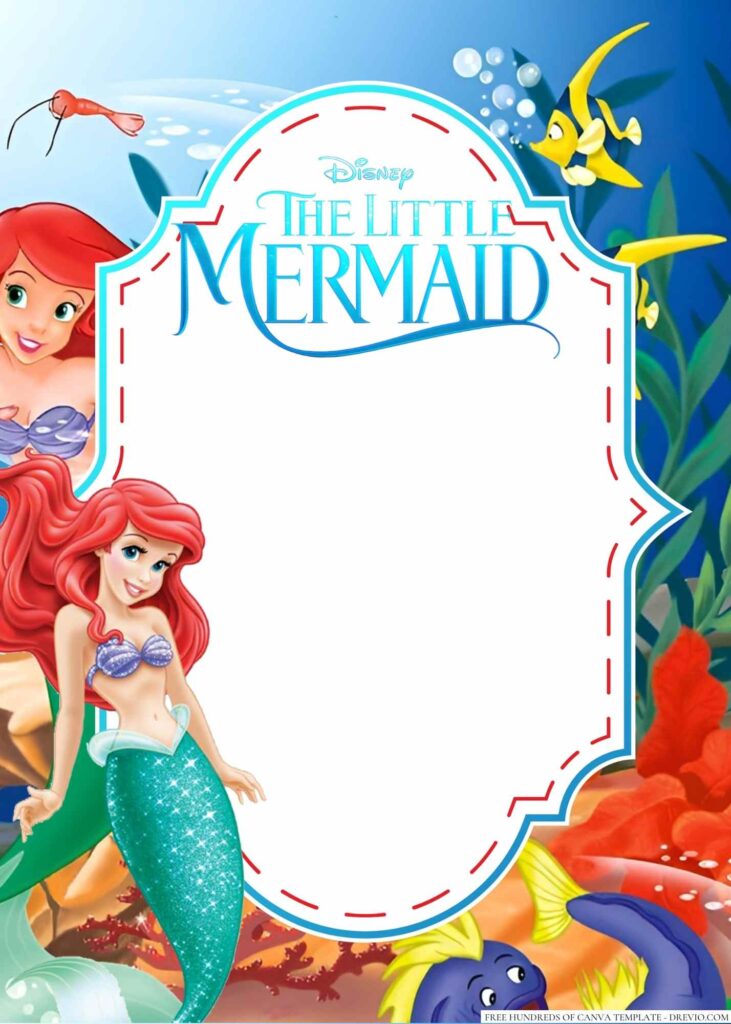
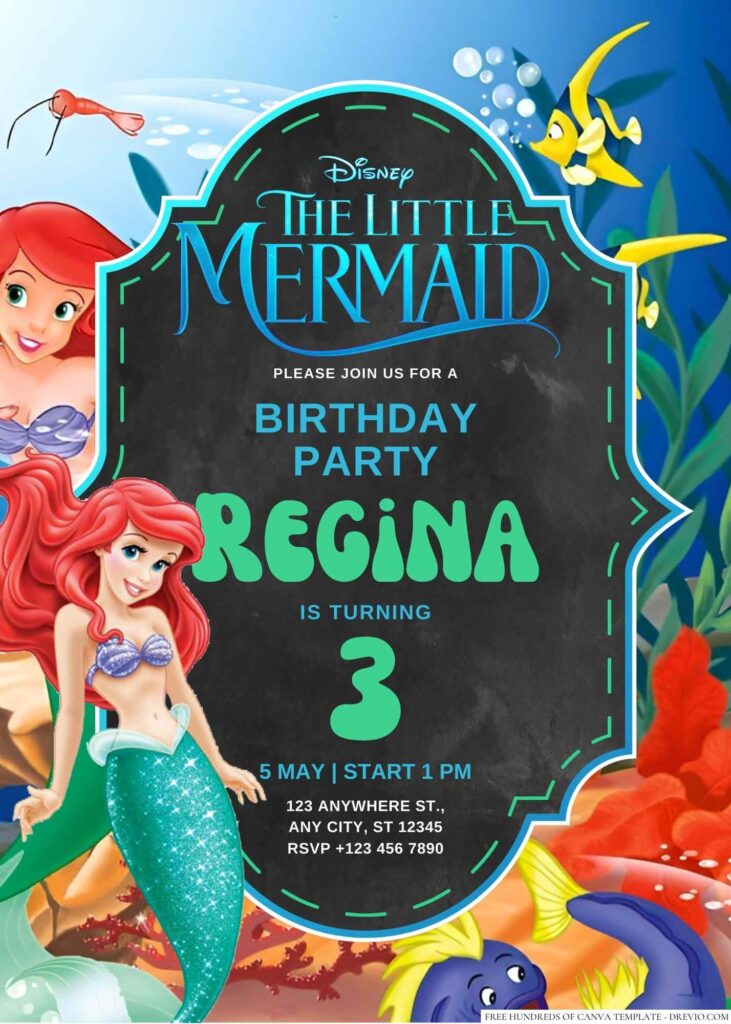
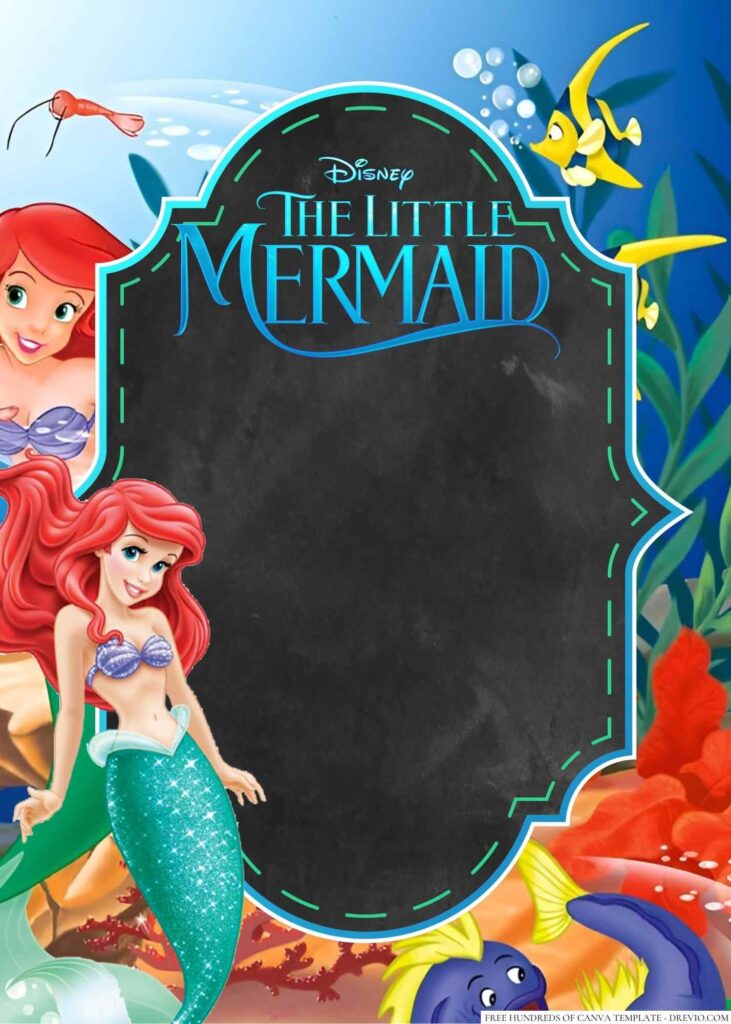
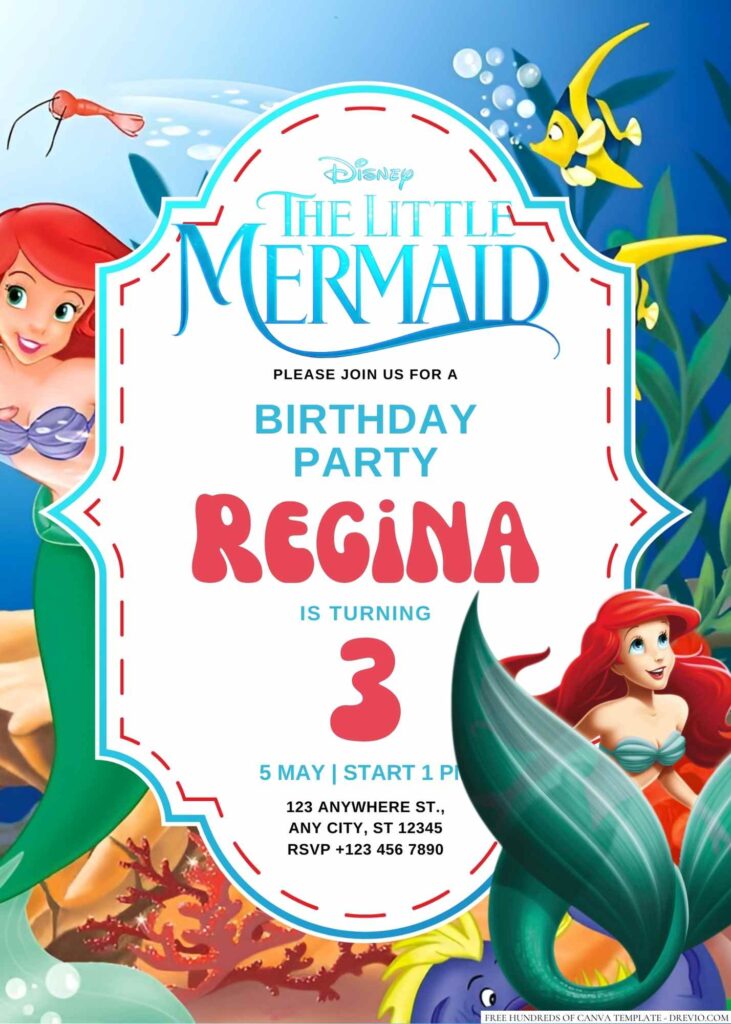
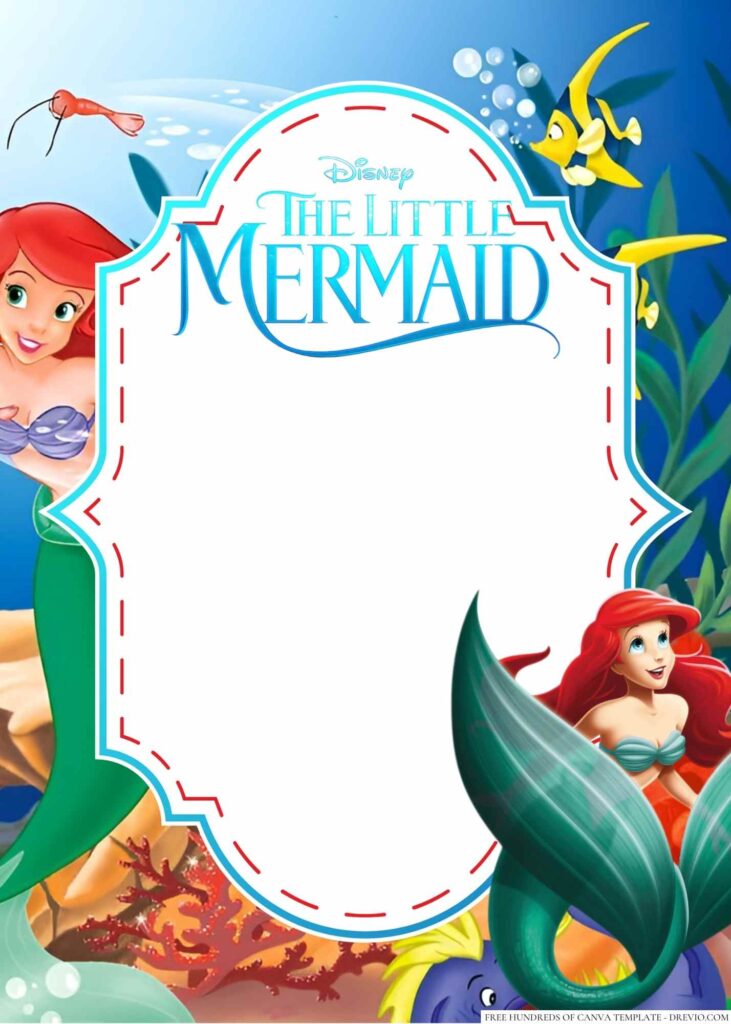
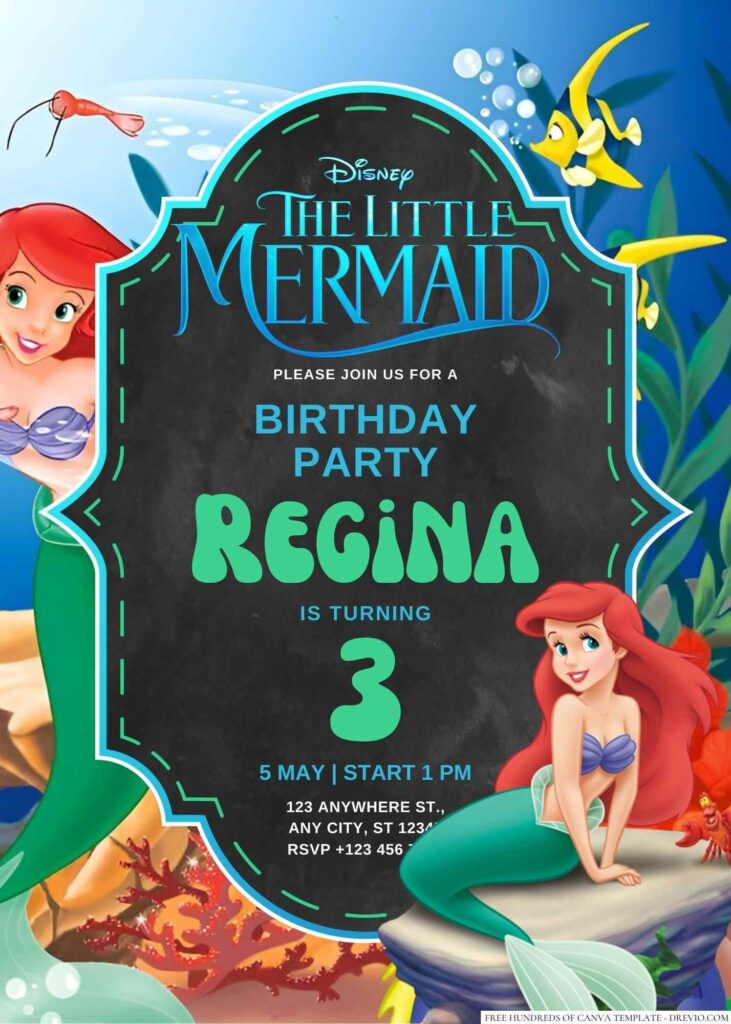
Free Editable Ariel Little Mermaid Birthday Invitation Templates (18+ Canva Designs)
The little seashell corners, tiny pearls, coral branches, watercolor waves, and starfish ended up making the whole invitation feel more like an underwater storybook instead of a cartoon poster.
I also kept thinking about how kids actually look at invitations.
Charlotte doesn’t read every word.
She looks for Ariel first.
Then Flounder.
Then Sebastian.
Then she starts asking where the cake is going to be.
That’s literally how kids work.
So having recognizable characters balanced with fun little ocean elements somehow keeps them staring at the invite longer.
I even made sure the party information wasn’t fighting with the artwork. One thing I learned after making invitations for years is moms care about reading the details fast.
Date.
Time.
Address.
RSVP.
Done.
Nobody wants to zoom in five times just to find the party starts at 2:00.
Why Choose Our 18+ FREE Ariel Little Mermaid Canva Birthday Invitation Templates?
Unbeatable Value: Free & Fabulous Designs
Birthday parties have quietly become expensive.
Like… when did balloons cost this much?
Andrew laughed because I spent twenty minutes comparing helium prices before realizing the invitations were the easiest thing to save money on.
That’s exactly why I keep making Canva templates.
They’re free to edit.
You don’t have to download random software.
You don’t have to hire someone on Etsy every single birthday.
You literally open Canva, swap your information, maybe change a font if you want, and you’re basically done.
I’d rather save that money for pizza, cupcakes, or honestly just more snacks because somehow kids eat like tiny vacuum cleaners at birthday parties.
I also tried to make these invitations feel expensive without actually costing anything.
Soft watercolor backgrounds.
Clean typography.
Little gold sparkle accents.
Ocean florals.
Cute bubbles.
Nothing feels copied and pasted.
Some of them lean more pastel for younger birthdays, while others have richer blues and elegant coral details that work really well for older elementary school kids who still adore Ariel but don’t necessarily want something that feels “babyish.”
Effortless Customization with Canva
Canva has become one of those apps I accidentally open almost every day.
Teacher appreciation cards?
Canva.
Bake sale flyer?
Canva.
Last-minute birthday invite because Charlotte suddenly remembered she invited three more classmates?
Also Canva.
One thing I really appreciate is that everything feels like dragging stickers around.
You don’t have to know graphic design.
You don’t have to understand layers.
You basically click the text and type.
That’s it.
The first time I used Canva years ago, I somehow deleted half the design trying to move a seashell.
Now I know about the Lock button.
Life changing.
Seriously.
Whenever I finish designing now, I lock all the decorative pieces first.
That way I can edit names and dates without accidentally sending Ariel floating into the corner of the page.
Small thing.
Huge difference.
I also like that I can make tiny adjustments depending on who’s coming.
Sometimes I’ll make Charlotte’s name a little bigger because she loves seeing it.
Sometimes I’ll shrink the RSVP section if I’m sending everything through our neighborhood moms’ group chat anyway.
It’s little stuff, but it makes the invitation feel more personal.
Wide Variety for Every Little Mermaid Fan
I never realized how many different “Ariel girls” there are until Charlotte started showing me inspiration photos.
Some kids want maximum glitter.
Some want soft princess vibes.
Some somehow only care about Flounder.
So I ended up making a mix instead of repeating the same design eighteen different ways.
You’ll see classic royal Ariel styles with castle details.
Some feel dreamy with watercolor oceans.
A few lean more tropical with coral reefs and sea plants.
Others have softer pastel palettes that work beautifully for toddlers turning three or four.
I also made sure there are invitations that don’t scream “little kid.”
My friend’s daughter turned eight and still wanted Ariel, but she wanted something prettier instead of cartoon-heavy.
Those ended up becoming some of my favorite templates.
What I Actually Did Inside Canva (And What Went Wrong 😅)
I always tell people editing the invitation takes maybe fifteen minutes.
Okay…
Twenty-five if you’re like me and keep changing fonts because suddenly one looks “too fancy.”
The very first version I made looked gorgeous on my laptop.
Then I printed a test copy.
Oops.
The light aqua text completely disappeared against the watercolor background.
It wasn’t unreadable…
but it definitely wasn’t great.
So I switched everything to a darker teal.
Problem solved.
Then Andrew pointed out that the address line looked tiny.
He wasn’t wrong.
I had been staring at it on a giant monitor instead of holding an actual printed invitation.
So I bumped the font size up just a little.
Another thing I changed was Charlotte’s age badge.
Originally it sat right beside Ariel.
It looked cute.
Until Ariel’s hair basically covered the number.
I moved the badge into a seashell instead.
Way easier to notice.
These are the little things nobody talks about until you’ve actually printed invitations yourself.
Canva makes changing everything ridiculously easy though.
Name?
Click.
Date?
Click.
Address?
Click.
Done.
I always save a PDF for printing and a PNG for texting family.
That way I’m covered either way.
My Favorite Templates From This Collection
CUSTOM YOUR ARIEL LITTLE MERMAID INVITATIONS HERE!
Soft Pastel Under-the-Sea
Perfect if your little one is turning three or four and loves pretty colors more than dramatic princess vibes.
Royal Ariel Castle
This one feels a little more magical and works really well for kids who are obsessed with princess movies.
Coral Reef Adventure
Lots of tropical fish, bright coral, and playful underwater details for energetic birthday parties.
Watercolor Ocean Dreams
Probably my personal favorite because it looks beautiful printed on matte cardstock and doesn’t feel overly busy.
Sparkly Seashell Party
Great for older girls who still love Ariel but want something that feels a tiny bit more grown-up.
How to Get Your FREE Ariel Little Mermaid Canva Invitations
Browsing the Enchanting Collection
Whenever I put together invitation collections, I always imagine different personalities instead of just different colors.
Charlotte would immediately grab the sparkly seashell one because she loves anything with tiny glitter details (even if they’re printed).
Louise, on the other hand, pointed at the coral reef design and said it needed “more fish.”
Kids are honestly the funniest focus group.
I usually recommend opening every template first instead of downloading the first cute one you see. I can’t tell you how many times I thought I had my favorite picked out… then the last design ended up being the one I actually used.
Another little trick I learned is to think about the rest of your party setup before choosing.
If you’re decorating with pastel balloons and soft tableware, a watercolor invitation usually ties everything together really nicely.
If you’re going all-out with bright ocean colors, giant balloon arches, and tons of character decorations, the bolder Ariel templates feel like they belong with the party instead of competing with it.
And honestly? Kids rarely notice if every decoration matches perfectly.
Moms do.
So pick something that makes you smile too.
Accessing Your Chosen Template
Once you’ve picked your favorite, opening it in Canva is the easy part.
No downloading weird software.
No figuring out complicated design programs.
Just click, make your own Canva copy, and start editing.
I always duplicate the original before touching anything.
Learned that one the hard way.
Years ago I accidentally deleted an entire page while trying to resize a text box, and I had to rebuild almost everything from scratch.
Now I keep one untouched version and edit the copy instead.
It takes literally two seconds and has saved me more than once.
Another thing I do? Before I even change the birthday details, I zoom out and look at the whole invitation.
Sometimes seeing everything at once helps me notice if a font feels too fancy or if one section looks crowded.
Little adjustments like that make a surprisingly big difference once it’s printed.
Personalizing Your Ariel Invitations in Canva
This is honestly the part I weirdly enjoy the most. I’ll have my coffee, Andrew’s making breakfast with Louise (or at least attempting to 😅), Charlotte is sitting next to me giving very important creative direction, and we’re all just moving little seashells around on Canva.
It’s become kind of our birthday tradition now.
Changing Text, Fonts, and Colors
The first thing I always change is the wording.
I used to overthink it and write things like:
“You are cordially invited…”
Girl… no.
Nobody I know actually talks like that.
Now mine usually says something like:
“Come celebrate Charlotte turning 7!”
“Let’s make some waves!”
“Join us for an under-the-sea birthday!”
Way more us.
One thing I learned after several birthday parties is to keep the important stuff super obvious.
Name.
Age.
Date.
Time.
Location.
RSVP.
Everything else is just extra.
I also don’t use more than two fonts anymore.
I made that mistake once because Canva has SO many cute fonts.
I think I used four…
Maybe five…
It looked like every word belonged to a different invitation.
Now I usually keep one playful script for Charlotte’s name and a clean font for everything else.
It’s easier to read, especially for grandparents.
Color-wise, I almost always darken the text a little.
Those dreamy pastel backgrounds are gorgeous on screen, but printers don’t always love pale lettering.
Especially if you’re printing at home.
A darker teal or navy usually fixes that instantly while still matching the ocean vibe.
Adding Photos and Graphics
Charlotte always asks if she can put her own picture on the invitation.
Always.
Sometimes we do.
Sometimes we don’t.
If we add a photo, I keep it pretty small because, honestly, Ariel is still the star of the invite.
One thing I found works really well is using a picture from the beach instead of a regular school photo.
Barefoot.
Messy hair.
Holding seashells.
Instantly fits the theme.
If you don’t want to use a photo, don’t even worry about it.
Most of the invitations in this collection are designed to stand on their own.
I actually think some of them look cleaner without one.
The only graphics I occasionally add are little bubbles, extra starfish, or a tiny “Birthday Girl” badge.
Nothing crazy.
The biggest mistake I’ve made?
Adding too many cute things because Canva makes it so tempting.
Suddenly there were dolphins.
Sea turtles.
Octopus.
More bubbles.
Extra coral.
A treasure chest.
Andrew looked over my shoulder and said…
“Are you inviting them to a birthday party or an aquarium?”
Fair.
So now I stop myself once everything feels balanced.
Resizing and Arranging Elements
This sounds boring…
But it’s probably the thing that makes invitations look the most polished.
Whenever I change Charlotte’s name, it almost never fits exactly where the sample text did.
Sometimes it’s longer.
Sometimes shorter.
So I move things around a little until nothing feels squeezed together.
I also leave more white space than I used to.
Years ago I thought every empty corner needed another shell.
Nope.
Empty space actually makes the invitation easier to read.
One little Canva trick I use constantly is grouping elements together.
If Ariel, Sebastian, and Flounder are already arranged perfectly, I’ll group them before moving anything.
Otherwise…
You’ll accidentally drag Sebastian across the page.
Ask me how I know.
Downloading and Printing Your Magical Invitations
This is where I always slow down a little.
Because nothing is worse than thinking you’re finished…
…then noticing a typo after you’ve already printed twenty invitations.
Yep.
Been there.
Now I read the invitation out loud before downloading it.
It sounds silly, but hearing the words helps me catch missing numbers, weird spacing, or dates that somehow still say “Saturday” when the party is actually on Sunday.
Charlotte has become my official typo checker too.
Mostly because she likes pointing out my mistakes.
Best File Formats for Printing
I almost always download two versions.
A PDF for printing.
A PNG for texting everyone.
PDF keeps the text nice and crisp, especially if you’re printing multiple invitations or taking them to a print shop.
PNG is perfect when Grandma asks for “that cute invitation thing” through text.
If you’re printing professionally, PDF is definitely the safer option.
The colors usually come out cleaner, and the edges stay nice and sharp.
DIY Printing vs. Professional Services
I’ve done all three.
Home printer.
Walgreens.
Staples.
Honestly?
It depends on how many invitations you need.
If it’s only six or seven for cousins and close friends, I don’t mind printing them at home.
I use heavyweight cardstock whenever I can because regular printer paper just feels… sad.
If I’m inviting Charlotte’s whole class?
Walgreens is usually my first stop.
Their 5×7 photo prints are often around $0.20 each, especially when they’re running one of their photo promotions, which honestly happens pretty often if you keep an eye out.
For actual invitation cards instead of photo paper, Staples has been really reliable too.
They have nice cardstock options, and I like that I can choose between matte and glossy depending on the design.
Personally…
I’m team matte.
Almost every time.
The watercolor ocean backgrounds look softer.
Fingerprints don’t show nearly as much.
Parents can actually write notes on the back if they need to.
Glossy definitely makes blues pop a little more though.
If your invitation has lots of bright colors and sparkly details, glossy can look really fun.
I just don’t love how easily it reflects light when people are trying to read it.
Another thing I learned after one very rushed print order…
Always print one test copy first.
One.
Single.
Invitation.
That’s it.
I once printed twenty-four invitations before realizing I accidentally left the sample phone number on the RSVP line.
Not my proudest parenting moment.
Luckily Canva made it easy to fix, but I definitely paid for my own impatience.
Sharing Digital Ariel Invitations
I’ll be honest…
About half the parents I know actually prefer digital invitations now.
Especially for classroom birthdays.
Nobody has to remember where they set the paper invite, and it’s easier to RSVP while you’re already holding your phone.
I still print a handful because Charlotte loves handing invitations to her grandparents and cousins.
But for school friends?
Digital all the way.
Emailing Your Invites
If I’m emailing invitations, I keep the message ridiculously short.
“Hey! Charlotte would love to celebrate with Emma. Here’s the invitation. Hope you can make it!”
That’s basically it.
Parents are busy.
Nobody wants to read three paragraphs before seeing the actual invitation.
I attach the PNG version because it loads quickly on phones without everyone needing to download a PDF.
One little habit I’ve gotten into is emailing invitations about three weeks before the party.
Long enough for families to plan.
Not so early that everyone forgets about it.
Sharing via Messaging Apps
This is honestly how most of our invitations get sent now.
Our neighborhood has a group chat.
Charlotte’s soccer team has another.
The classroom moms somehow have three different text threads.
So I usually just drop the invitation in whichever group makes sense.
One thing I always do is send the invitation as an image instead of a screenshot.
It stays way clearer.
I also include one quick message underneath like:
“Can’t wait to celebrate with everyone! Just let me know by next Friday if your kiddo can make it.”
Simple.
Friendly.
Done.
And here’s something funny I noticed…
Kids actually recognize the invitation.
When parents show them the picture on their phone, they’ll immediately say,
“That’s Ariel! Can I go?”
Which is honestly the entire goal.
The invitation gets them excited before the party even starts.
That’s kind of my favorite part.
Tips for an Unforgettable Ariel-Themed Party
By the time invitations go out, I’m already thinking about snacks. 😂
Not because I’m super organized (absolutely not), but because I know if I wait until the week of the party, Target somehow becomes the busiest place on Earth.
The good news is an Ariel party doesn’t have to cost a fortune. Kids honestly remember the fun way more than whether every decoration matched perfectly.
Decor Ideas: Under the Sea Magic
This year I skipped buying a bunch of expensive themed decorations and mixed dollar-store finds with a few nicer pieces.
One of my favorite little hacks was buying different shades of blue, mint, lavender, and pearl balloons instead of character balloons everywhere. Then I added a few seashell balloons near the cake table, and suddenly everything looked way more put together.
Another thing that looked surprisingly cute?
I scattered clean seashells (left over from one of our beach trips) across the food table with battery-operated tea lights. Super simple, but everyone kept commenting on it.
If you don’t have seashells, craft stores usually sell bags for just a few dollars.
Some of my favorite places for affordable ideas:
Amazon: https://www.amazon.com/s?k=mermaid+party+decor
Etsy: https://www.etsy.com/search?q=mermaid+party+decor
Pinterest: https://www.pinterest.com/search/pins/?q=mermaid%20birthday%20party
Pinterest is honestly dangerous though.
I always go looking for balloon ideas…
…and somehow end up planning an entire dessert table I absolutely do not have time for.
So I give myself about fifteen minutes before closing the app.
Fun Activities & Games
I used to think every birthday party needed elaborate games.
Nope.
Kids will literally entertain themselves with bubbles for twenty minutes.
Here are the activities that actually worked for us:
“Find the Pearl” Treasure Hunt
I hid plastic pearls inside little seashells around the backyard.
The winner got first pick of the party favors.
Every kid wanted to play again.
Mermaid Tail Ring Toss
We made this with pool noodles and a few inflatable rings.
Cheap.
Easy.
Surprisingly competitive.
Even Andrew joined.
Under-the-Sea Coloring Table
This ended up being a lifesaver.
Kids who didn’t want to run around had something quiet to do while everyone else played outside.
I downloaded free printable ocean coloring pages and put out washable markers.
Done.
Nothing fancy.
Matching Party Favors
I always keep party favors small because, let’s be honest, most parents don’t want another giant plastic toy coming home.
This year each kid got:
Mermaid sticker sheet
Bubble wand
Mini seashell notebook
Sea animal gummies
Tiny shell bracelet
Everything fit inside a little iridescent gift bag.
Total cost stayed way lower than I expected.
One little thing I started doing is writing each child’s name on the favor bag before the party starts.
Nobody accidentally grabs the wrong one when they’re heading home.
After the Party (My Favorite Part Honestly)
One of Charlotte’s friends walked into the party holding the invitation.
Like…
Actually carrying it.
She told Charlotte,
“I saved it because Ariel is so pretty.”
That made every little Canva edit feel worth it.
Another mom asked me where I ordered the invitations because she assumed they came from Etsy.
When I told her I just edited a Canva template and printed them myself, she immediately asked me to send her the link.
Those are the moments I love.
Not because the invitation was perfect.
It definitely wasn’t.
I actually noticed one tiny spacing issue after everything was already printed.
Nobody else noticed.
Literally nobody.
Kids were too busy running around pretending to be mermaids.
Parents were trying to keep cupcakes off white shirts.
Life went on.
Louise somehow spent half the party pretending to be King Triton even though nobody asked him to.
Andrew somehow became the official bubble machine operator.
Charlotte fell asleep in the car holding one of her party favor bracelets.
That’s what I remember.
Not whether every seashell was perfectly lined up on the invitation.
Frequently Asked Questions (FAQs)
Are these templates truly free?
Yep!
The templates themselves are completely free to use and edit in Canva. Some fonts or graphics inside Canva may occasionally be Pro elements, but I try to stick with free resources whenever possible so you don’t run into surprises.
Do I need a Canva Pro account?
No.
Everything you actually need to personalize the invitation can be done with a free Canva account.
If you already have Pro, awesome.
If you don’t, you’re still good.
Can I edit on my phone?
Absolutely.
I’ve edited invitations while sitting in the school pickup line.
Would I rather use my laptop?
Definitely.
It’s easier to move things around on a bigger screen.
But if all you need is changing the name, date, or address, your phone works perfectly fine.
What’s the best size to print?
I almost always print 5×7 inches.
It’s easy to mail, easy to hand out at school, and Walgreens usually has really affordable photo printing around $0.20 each when promotions are running.
Should I choose matte or glossy cardstock?
If you asked me over coffee, I’d say matte every single time.
It photographs beautifully, doesn’t show fingerprints as easily, and gives watercolor designs a softer look.
Glossy is still a great choice if you really want bright blues and vibrant colors to stand out.
It honestly comes down to personal preference.
Can I text the invitation instead of printing it?
Definitely.
A lot of the parents in Charlotte’s class actually prefer receiving invitations through text or group chats now.
I usually save a PNG version for digital sharing and a PDF for printing so I’m covered either way.