Read in 10 seconds
- Keep paper banners dry, weighted, and out of direct sun when possible.
- Use the right hanging method instead of trusting tape and hope.
- A few cheap supplies can save your decorations from becoming backyard confetti.
If you’ve ever spent an entire evening making the cutest birthday banner, only to walk outside the next morning and find it hanging sideways from one sad piece of tape…
Yep.
Been there.
Nothing humbles a mom faster than watching the birthday banner she stayed up making at 11:47 PM slowly flap itself into another zip code.
Outdoor birthday parties are adorable. They’re also basically a negotiation between your decorations and Mother Nature.
Wind. Humidity. Surprise rain. Bright sunshine. That one kid who thinks every hanging decoration is a jungle gym.
So if you’re wondering how to protect party banner outdoors, here’s what I’ve learned from decorating our backyard and making way too many printable party decorations.
You don’t need a professional party setup.
You mostly need better tape.
And a backup plan.
The biggest mistake I made with outdoor banners
I used to think the problem was the banner.
It wasn’t.
It was how I was hanging it.
I’d print a cute banner, punch two little holes in the corners, tie some string through it, and hang the whole thing between two chairs or trees.
Then I’d look at it and think:
“Cute! Done!”
Thirty minutes later:
FLAP FLAP FLAP FLAP.
The corners were curling.
The letters were twisting around.
The string was sagging.
And one side was somehow three feet lower than the other.
Very Pinterest.
Except not.
The biggest mistake was treating an outdoor banner like an indoor decoration.
Inside, your banner doesn’t have to fight wind.
Outside, it absolutely does.
And even a light breeze can put a surprising amount of stress on paper, especially if the banner has large pieces that act like little sails.
So now I think about three things before hanging one:
Wind + moisture + how much weight the hanging point can actually handle.
That’s basically the whole game.
1. Check the weather before you decorate
I know.
Very obvious.
But I have absolutely decorated first and checked the weather second.
Do not be me.
If your party is outside, check the forecast the morning of the party and again a few hours before guests arrive.
You don’t necessarily need to cancel everything because there’s a little breeze. But you do want to know what you’re dealing with.
If it’s windy
Use shorter banner sections instead of one giant stretch.
A long banner catches more wind, especially when it’s hung completely open between two points.
You can also hang the banner closer to a wall, fence, covered patio, or other solid structure. The less exposed it is, the less it’s going to fight the wind.
If rain is possible
This is where I get a little ruthless.
Paper decorations and rain are not friends.
If there’s a decent chance of rain, don’t put your printable banner out hours before the party just because you want everything to look perfect when guests arrive.
Keep it inside until you’re ready.
Or put it somewhere covered.
A covered porch is much safer than an open lawn, even if the weather looks fine at first.
If it’s very sunny
Sun doesn’t usually destroy a banner immediately, but direct sunlight can fade printed colors over time.
For a one-day birthday party, I wouldn’t lose sleep over it.
But if you’re setting up decorations several days early, keep them shaded whenever possible.
2. Don’t rely on regular Scotch tape
This was another lesson learned the annoying way.
Regular household tape might be fine for temporarily sticking something to a wall indoors.
Outside?
Wind laughs at regular tape.
If you’re hanging a paper banner outdoors, I prefer using something that actually wraps around or attaches securely to the structure.
Depending on where you’re hanging it, that could mean:
- Twine or cotton string
- Nylon cord
- Zip ties
- Clothespins
- Outdoor-rated adhesive hooks
- Small clips
- Painter’s tape for temporary positioning
- Double-sided outdoor mounting tape for appropriate surfaces
You don’t need to use all of these.
Please don’t turn your backyard into a hardware store.
Just choose the method that makes sense for the surface you’re working with.
For example, if I’m hanging something between two sturdy posts, I’ll usually use string or cord.
If I’m attaching a lightweight decoration to a fence, clips or zip ties can be much more reliable than tape.
3. Reinforce the corners
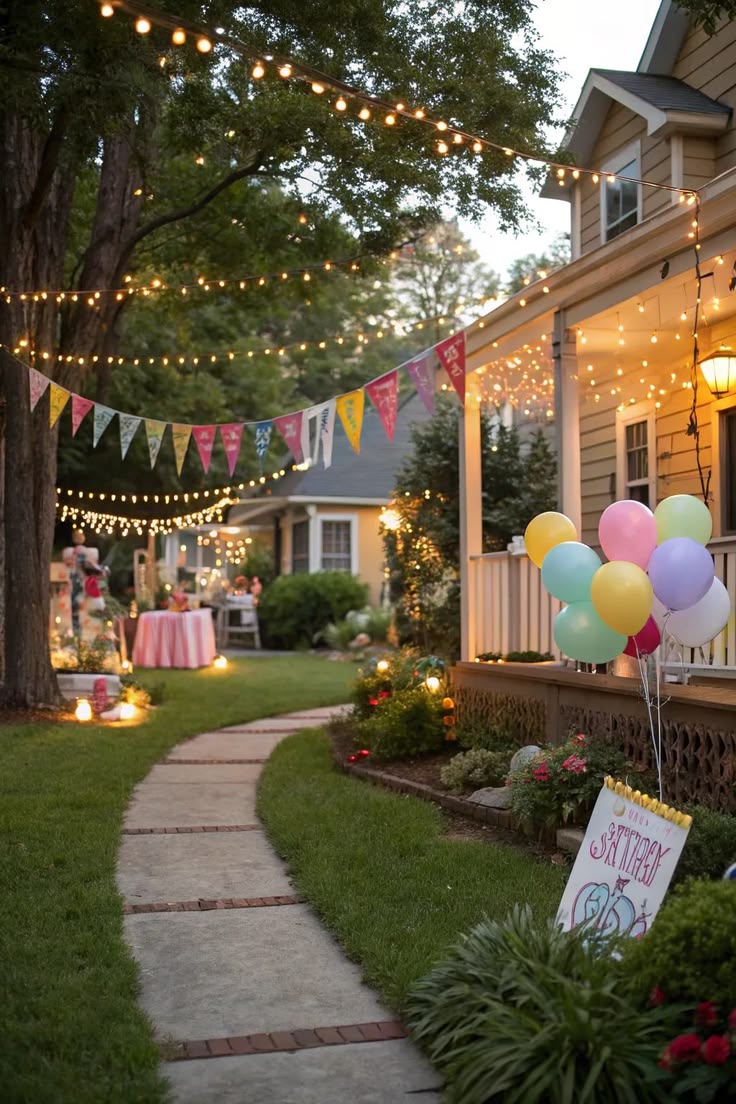
Here’s a tiny trick that makes a surprisingly big difference.
Reinforce the holes before you hang the banner.
If your printable banner has punched holes near the corners, the paper around those holes can tear when the wind starts pulling on it.
Especially if you’re using regular printer paper.
You can reinforce the area with small pieces of clear tape on the back before punching the holes.
Or use adhesive reinforcement rings if you have them.
Then punch your hole through the reinforced section.
It’s such a boring little step.
It’s also much nicer than discovering halfway through the party that the left corner has ripped off and your banner now says:
HAPPY BIRTH—
…nothing.
Just nothing.
Here are a few more resources that made party planning easier for me
4. Choose the right paper for outdoor printable decorations
If you’re making outdoor party printable decorations, paper choice matters.
For a short birthday party, regular cardstock can work well if the weather is dry and you’re keeping the decoration somewhere reasonably protected.
I usually prefer cardstock over regular copy paper because it’s sturdier and holds its shape better.
But here’s the important part:
Cardstock is not waterproof.
I know, tragic.
Even thick paper can soften, curl, smear, or warp if it gets wet.
So don’t assume that because something feels sturdy in your hand, it can survive a rainstorm.
If you know the decoration will be exposed to moisture, consider printing on a more water-resistant material or protecting it with a suitable clear covering.
Just test it first.
I once laminated something thinking I was being extremely clever, only to realize the glare made it almost impossible to read in photos.
So… test one piece before making 27.
Ask me how I know.
5. Give your banner a little room to move
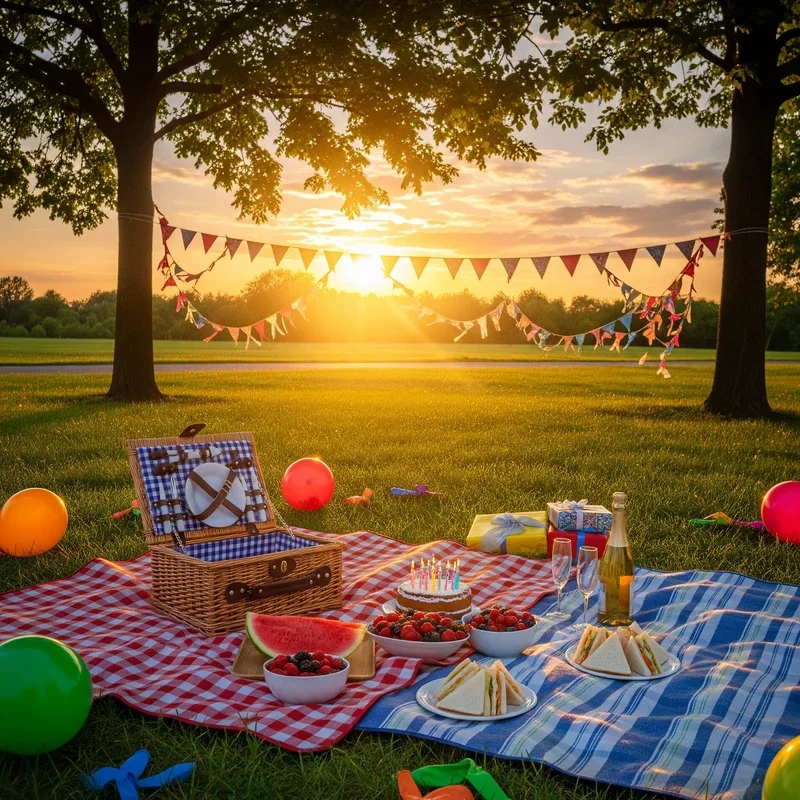
This sounds strange, but don’t pull your banner ridiculously tight.
A little flexibility can actually help.
If the banner is stretched completely rigid between two points, wind can pull against the whole thing at once.
Instead, I like a little bit of natural slack.
Not “sad laundry line” slack.
Just enough that it isn’t under constant tension.
If you’re using individual pennants, make sure they’re spaced enough that they aren’t constantly smashing into each other when the wind picks up.
And if the forecast is particularly breezy, shorter sections are your friend.
You can create two or three smaller banner pieces instead of one enormous one.
It can actually look cuter anyway.
6. Add a little weight when the pieces keep flipping
This is especially useful for individual hanging decorations.
If your banner pieces keep turning sideways, you can add a very small amount of weight to the bottom or use a sturdier hanging method.
The key word is small.
You don’t want to make the decoration heavy enough that the string, tape, or structure starts failing.
For lightweight paper decorations, even changing the way they’re attached can help more than adding weight.
If the wind is strong enough that you’re considering hanging weights from every letter of your child’s name, I would take that as a sign to move the decoration somewhere more sheltered.
We are decorating a birthday party, not preparing for hurricane season.
7. Hang outdoor banners somewhere naturally protected
This is probably my favorite trick because it doesn’t cost anything.
Use your party location to your advantage.
Instead of automatically putting your banner in the most open, dramatic spot, look around.
Could it go:
- Under a covered patio?
- Against a fence?
- Under a pergola?
- Between two porch posts?
- Behind the dessert table?
- Under a canopy?
- Against the house?
A banner doesn’t have to be floating in the middle of the backyard to look good.
Actually, placing it behind the cake table or dessert table can make it look more intentional.
And it gives you a nice background for pictures.
Two jobs from one decoration.
That’s my kind of party planning.
My quick outdoor banner setup
If I have approximately 15 minutes before guests arrive and suddenly realize I haven’t hung the banner yet—because obviously—I do this:
Step 1: Pick the most sheltered location
I look for a wall, fence, covered patio, or sturdy posts.
Step 2: Reinforce the banner
I add clear tape behind the corners where I’ll punch the holes.
Step 3: Use cord or twine
I run the cord through the banner rather than relying on adhesive alone.
Step 4: Secure both ends properly
I attach the cord to something sturdy.
Not a decorative plant.
Not a flimsy balloon stand.
Not the chair that my toddler will inevitably move.
Something actually stable.
Step 5: Do the “wind test”
I stand back and watch it for a minute.
If the banner is already flapping like it’s trying to escape, I move it.
This little test has saved me from a lot of last-minute birthday chaos.
What about laminated party banners?
If you really want extra protection, laminating can help with moisture and make a paper decoration more durable.
But I wouldn’t automatically laminate every outdoor decoration.
For a one-afternoon birthday party, it’s often unnecessary.
And depending on the lighting, laminated surfaces can create glare in photos.
If you’re using a printable design that you want to keep afterward, though, laminating can make more sense.
Especially if you want to reuse the decoration for another party.
Just make sure the finished piece is still easy to hang securely.
Don’t forget the rest of your decorations
Once I started paying attention to my banner, I realized the same rule applied to basically everything else.
Outdoor printable decorations need a little more planning than indoor ones.
Signs can blow over.
Food labels can get damp.
Paper cupcake toppers can bend.
Table signs can become airborne.
And balloons?
Don’t even get me started.
For anything made from paper, I ask myself:
“What happens if the wind picks this up?”
If the answer is “it flies directly into the neighbor’s yard,” I find a better way to secure it.
For printable signs, I like placing them inside small frames, clipping them to something sturdy, or putting them somewhere covered.
For table decorations, a little double-sided tape underneath can help keep lightweight pieces from sliding around.
The goal isn’t to make everything indestructible.
It’s just to make it survive long enough for the birthday cake to come out.
And if you’re still making the party printables…
This is where I try not to get carried away.
Because once I start designing one birthday decoration, suddenly I’m making matching signs, cupcake toppers, food labels, thank-you tags, banners…
And Andrew is standing in the doorway pretending he isn’t excited about the toy excavators.
If you still need the invitation, I keep a bunch of free printable birthday invitation templates on Drevio that you can customize for different party themes.
It’s one less thing to design from scratch when you’re already thinking about cake, balloons, food, favors, and whether your child is actually going to wear the birthday outfit you bought.
Spoiler:
Probably not.
My “please don’t let the banner fly away” checklist
Before I walk away from an outdoor birthday setup, I do a very quick check:
- Is the banner protected from direct rain?
- Is it attached to something sturdy?
- Are the corners reinforced?
- Did I use something stronger than regular tape where needed?
- Is the paper thick enough for the setup?
- Does the banner have a little room to move?
- Are the ends secured?
- Could wind turn any loose pieces into flying objects?
- Have I checked the weather again?
- Did I take a picture before the kids destroy everything?
That last one is important.
Because five minutes after the party starts, someone will spill juice on the table, a balloon will mysteriously disappear, and there will be frosting on something that definitely wasn’t supposed to have frosting on it.
And honestly?
That’s usually when the party starts feeling like a real birthday.
The goal isn’t a perfect banner
I used to think outdoor decorating meant getting everything perfectly straight.
Perfectly secured.
Perfectly coordinated.
Perfectly Pinterest-worthy.
Now?
I mostly want the decorations to stay where I put them long enough for everyone to see them.
If the banner is slightly crooked, whatever.
If one pennant is hanging a little lower than the others, nobody cares.
The kids definitely don’t.
They care that there’s cake.
They care that their friends are there.
They care that the backyard suddenly feels like a special little world made just for them.
So yes, protect the banner.
Secure the corners.
Check the weather.
Use better tape.
But don’t spend three hours trying to make a piece of paper behave perfectly in the wind.
It’s a birthday party.
It’s supposed to be a little messy.