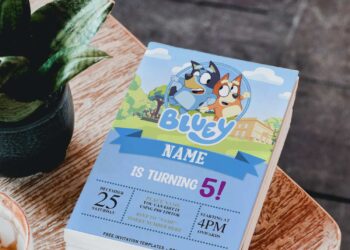
Eh-oh! It’s time for a tubby party! Join Tinky-Winky, Dipsy, Laa-Laa, and Po for a colorful birthday party! From invitations and decorations, we’ve got you covered! Your guests will love the bright, fun colors and four familiar faces of the Teletubbies!
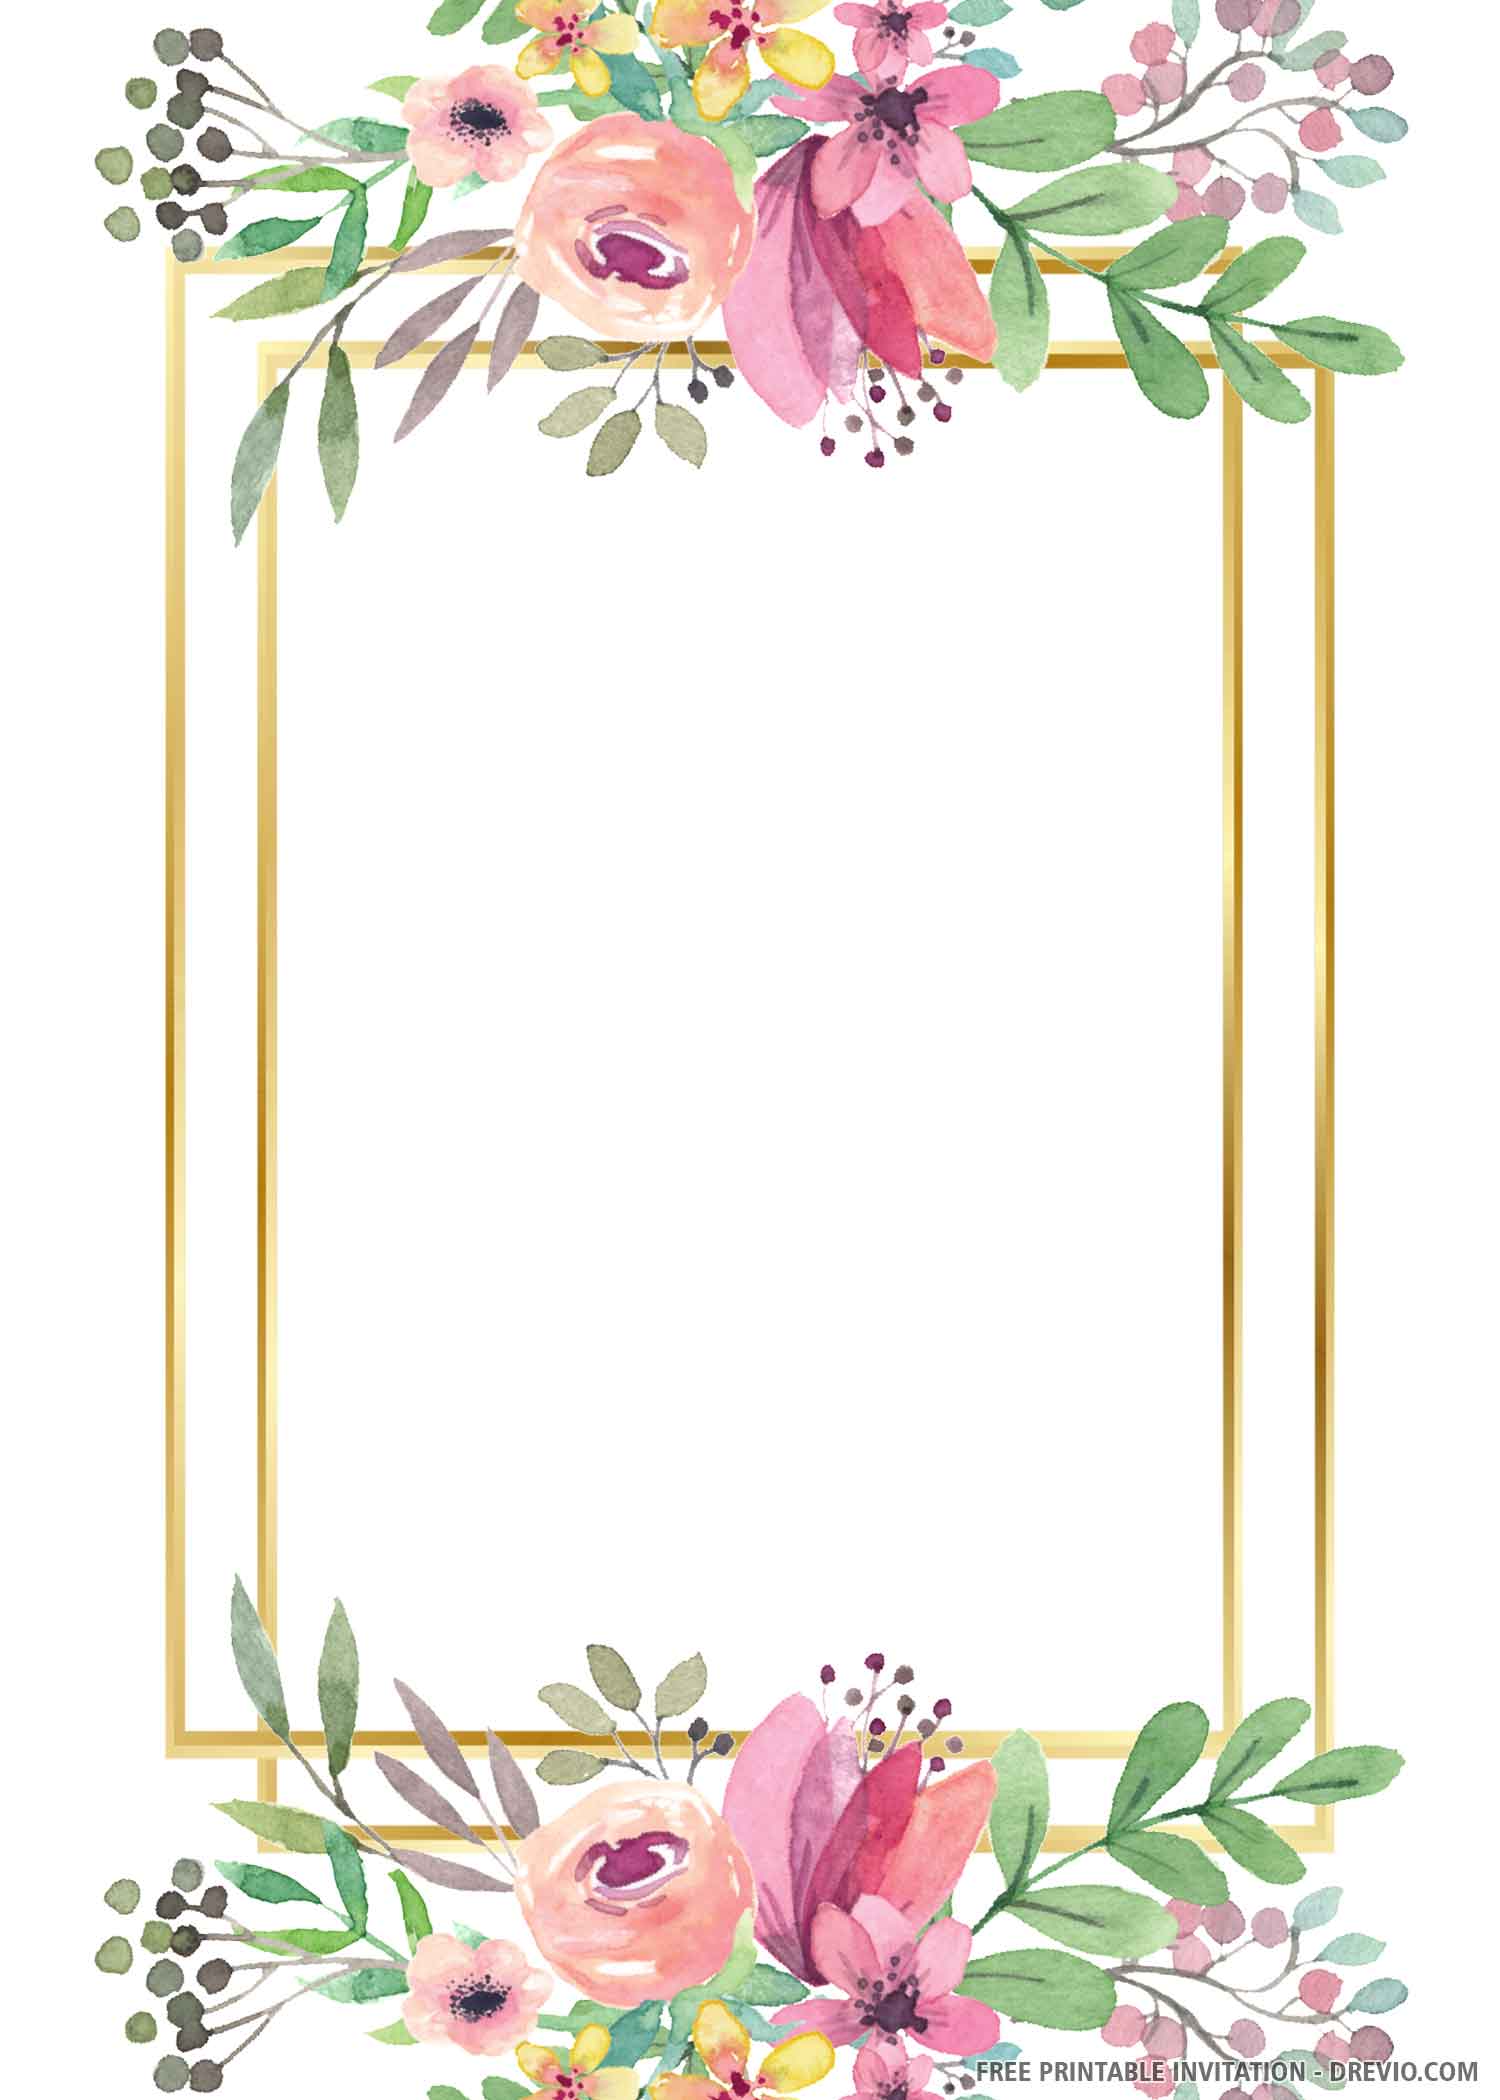
Birthday invitations are the first look at the big event. They’re the first taste of what’s to come, and they kind of set the standard.
AnotherIdeas


While it is not necessary to go overboard with your birthday invitations, it is critical to use them as an opportunity to decide on your birthday colors, theme, and other details.


Download Help
If you’re wondering on how to download this template collection and what you should do next, please read and follow these following guides:
- Choose your template design
- Move your mouse pointer and Left-Click the template
- Wait for a while, a new page will be appeared
- Right-click the template and choose “save image as” to save it
- Locate where the file will be saved in your device and Enter
If the download process has finished, Open the file with either Microsoft Word or Adobe Photoshop. Then insert your text or party information. Print the final draft on cardstock or any printing paper.
You can also use Canva to create a personalized birthday invitation that your friends and family will love! Our layouts have been created to accommodate any type of birthday celebration, from a family gathering to a cruise or weekend getaway.
To add your own flair, use the drag-and-drop design tool. You can customize any of our layouts by changing the images, fonts, and colors to create a birthday invitation that is unique to your event. Check out some of our adorable birthday card ideas right here!
customize your invitation here
7th Birthday Party Ideas
Finding the ideal theme and choosing birthday party ideas for a child turning seven is a virtually limitless possibility. It’s a fun stage where they are developing their own preferences, so it’s crucial to choose a party theme that they will adore sharing with their closest friends.
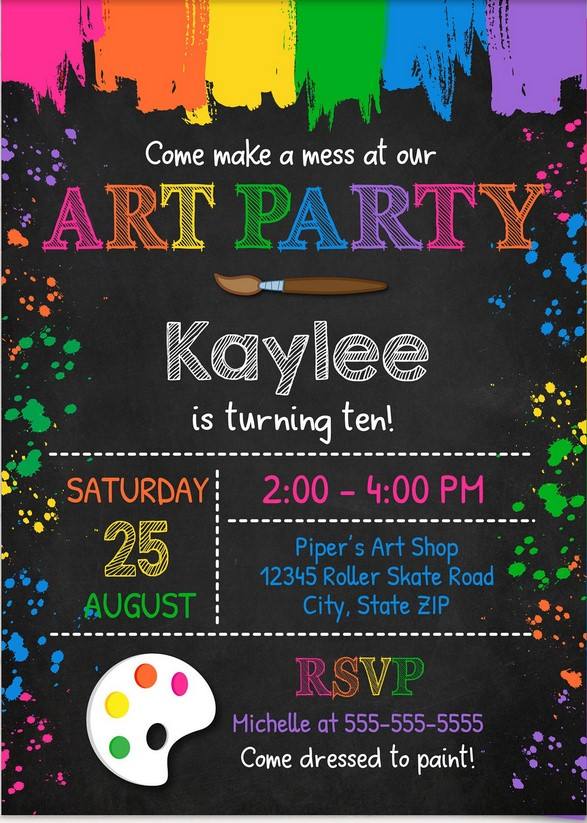
Art Canvas Painting
If your child enjoys any chance to express their creativity, consider converting a room in your home into an art studio to commemorate their seventh birthday. An art party can give the kids a wonderful hands-on experience and allow for creativity, keeping them occupied the entire time.
Set the mood by providing each guest with a blank canvas, paintbrushes in all the colors of the rainbow, and paint so they can create their own masterpieces. Serve homemade rice krispies paint brushes and vibrant cupcakes to create an artistic paint palette that can also be used as a birthday cake.
Slime Making
The fact that slime is so satisfying and fascinating to touch might help to explain why most kids are so overly obsessed with it. A slime-making party is necessary if your child fits this description to a tee. It’s a fantastic party idea that offers a great chance to learn about chemistry. Create a slime lab where children can pretend to be scientists and conduct experiments with slime activators.
Pop It
Parents are surviving the Pop It craze somehow. Describe Pop It. It is a silicone fidget toy designed to reduce tension and stress. The children frequently pop bubble-wrap-like dimples in and out. If you feel inclined to join the trend, there are creative ideas to fulfill your child’s wildest Pop It dreams.
This trendy toy is starting to dominate the party scene. The most recent party decoration style is a Pop It balloon mosaic. With its vibrant and fun colors, it will instantly bring the theme to life. Cupcakes with Pop It toppers and key chains as take-home party favors are two more exciting suggestions.


