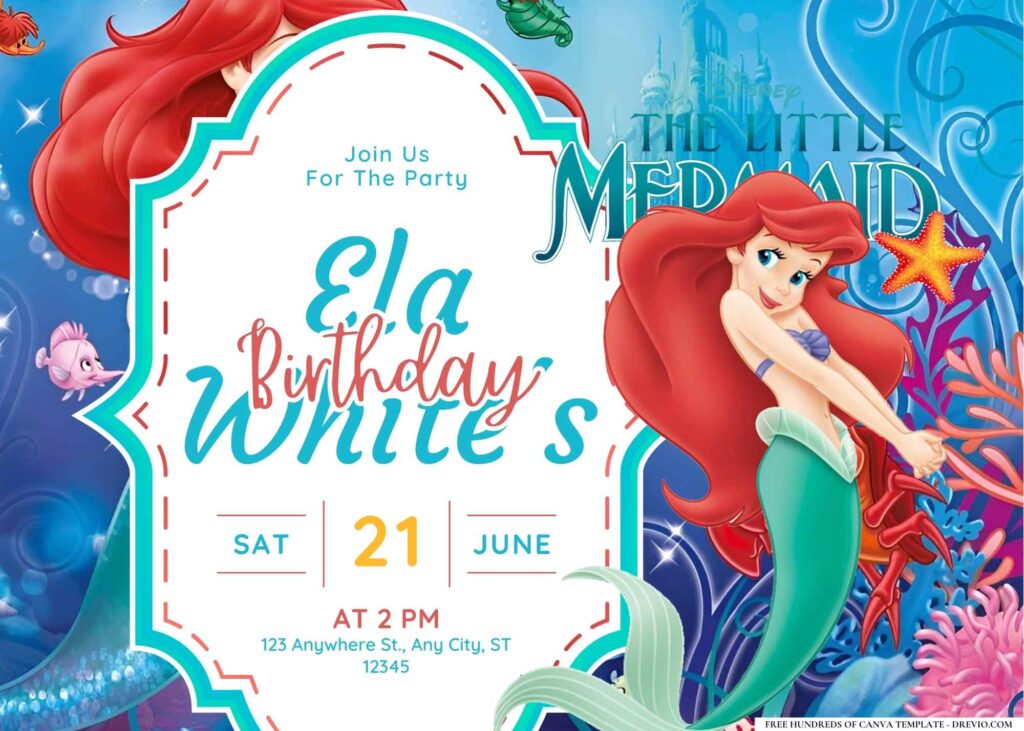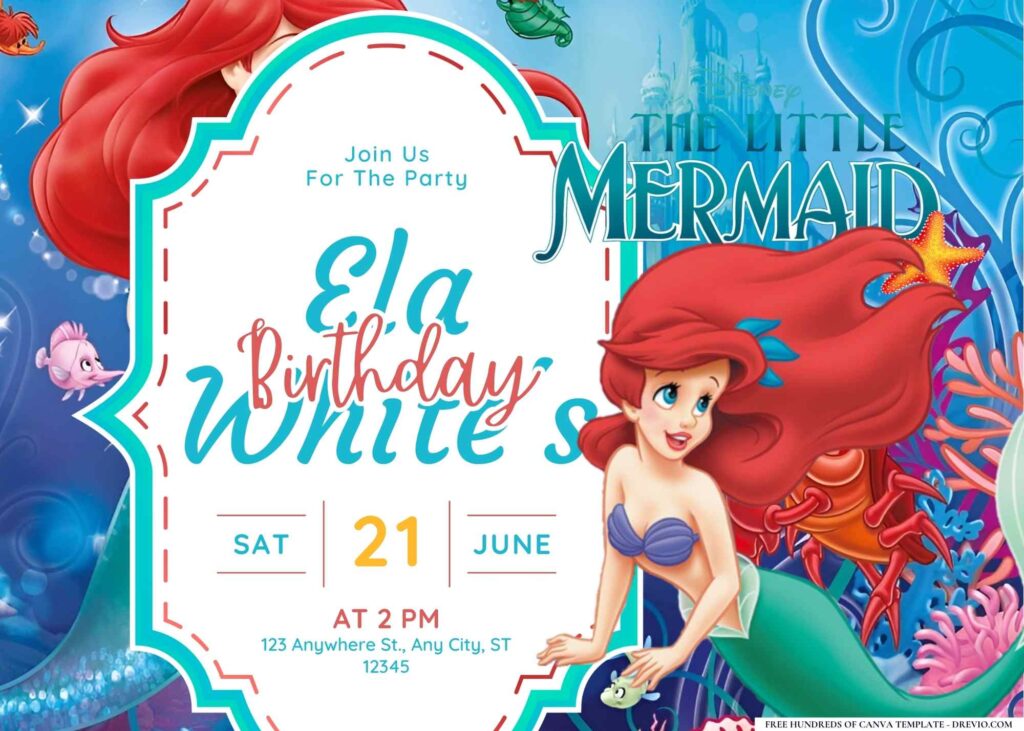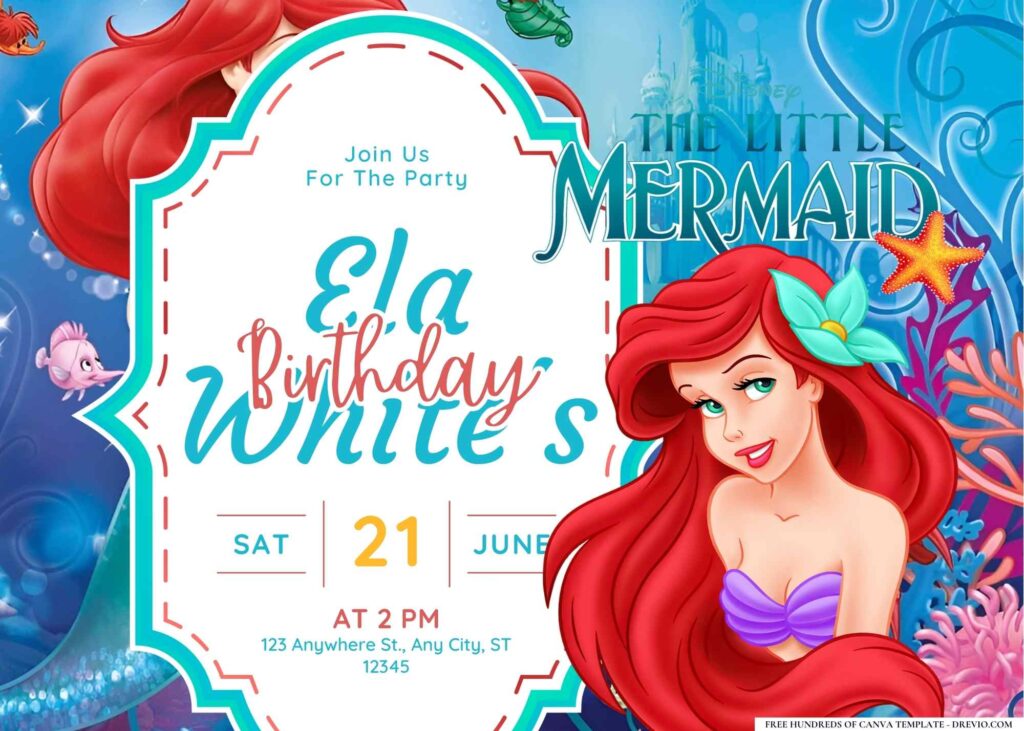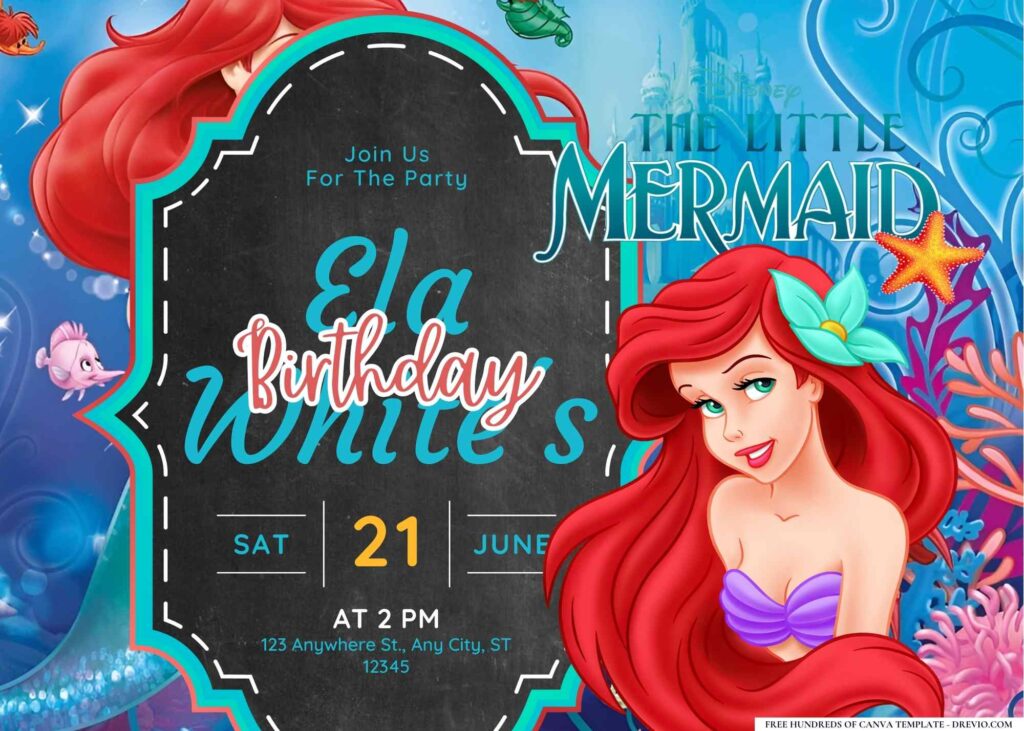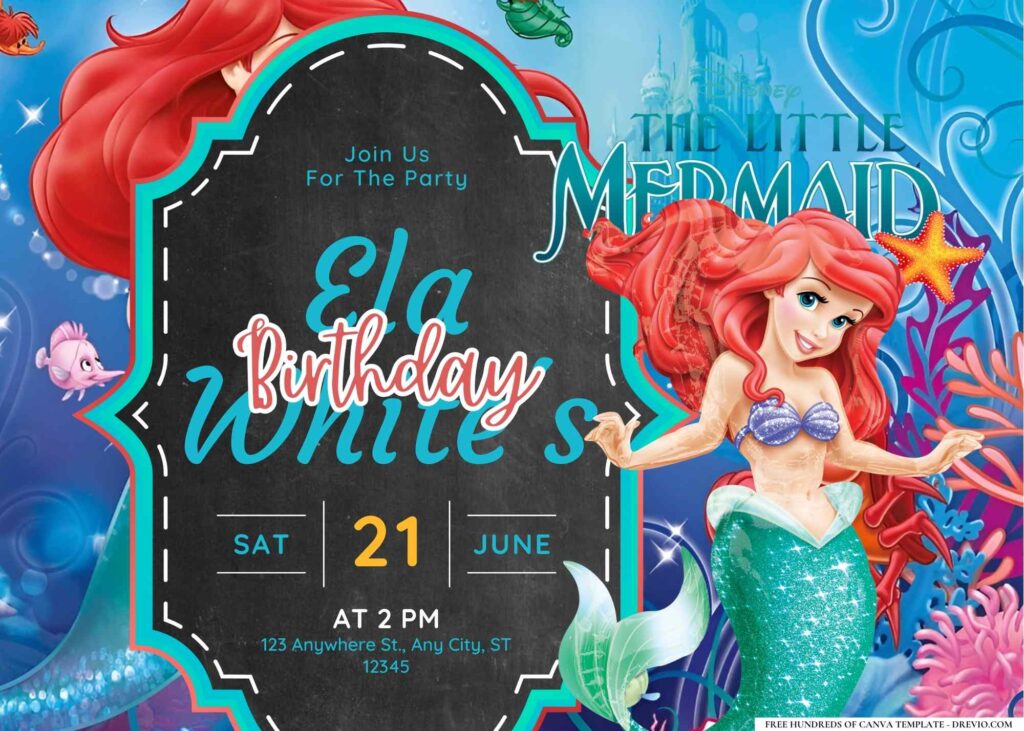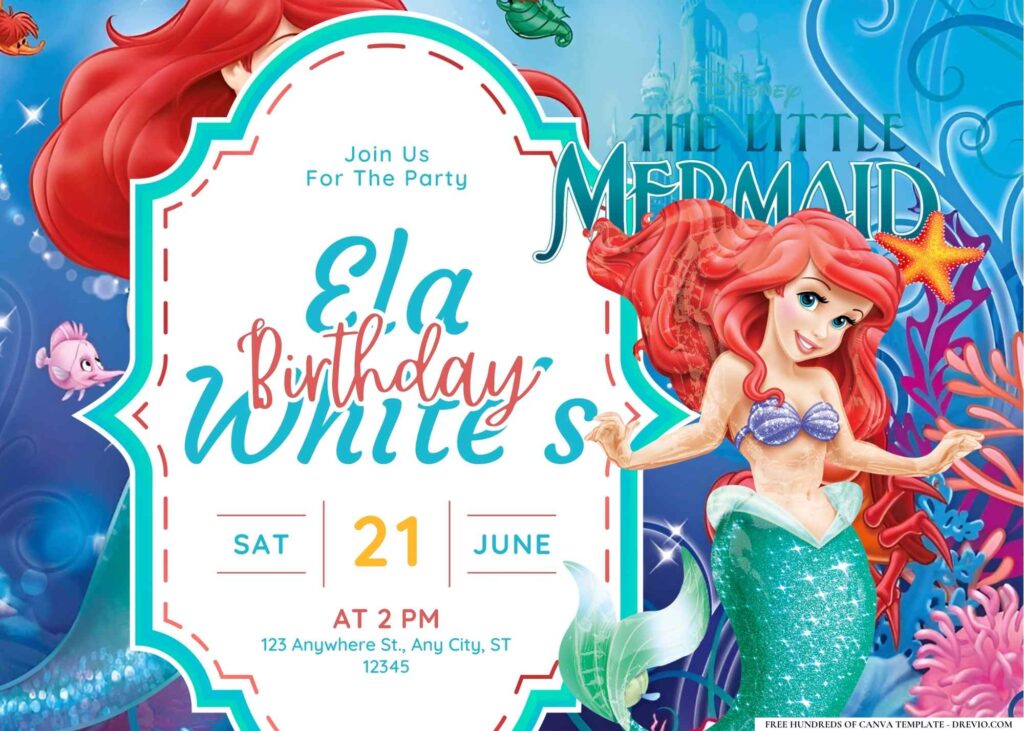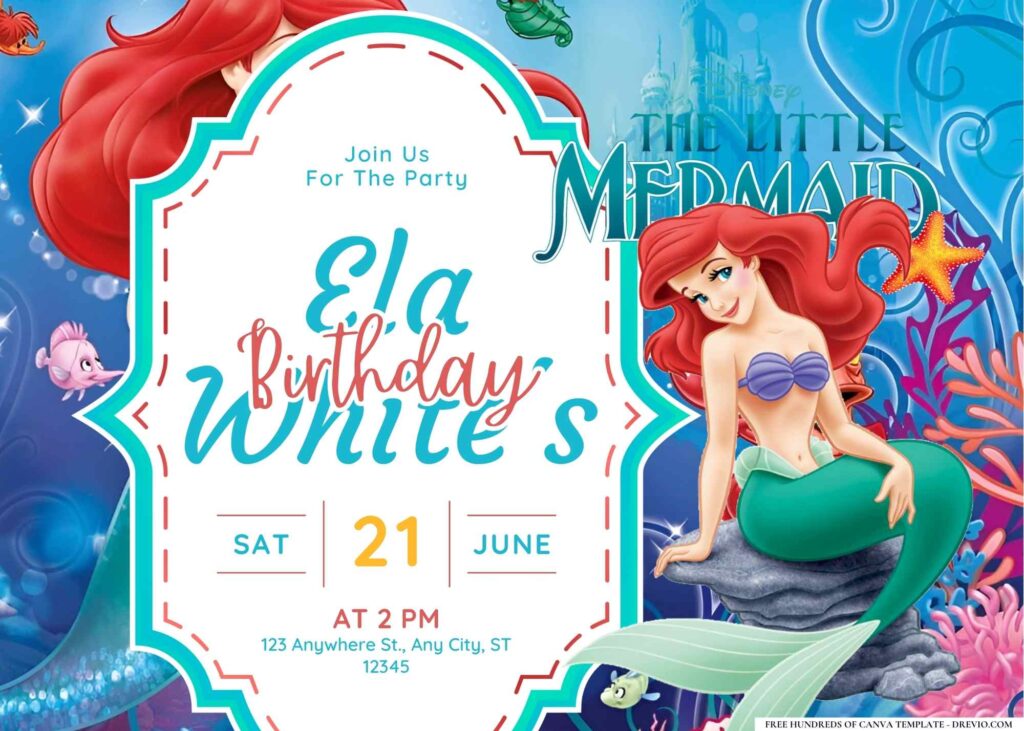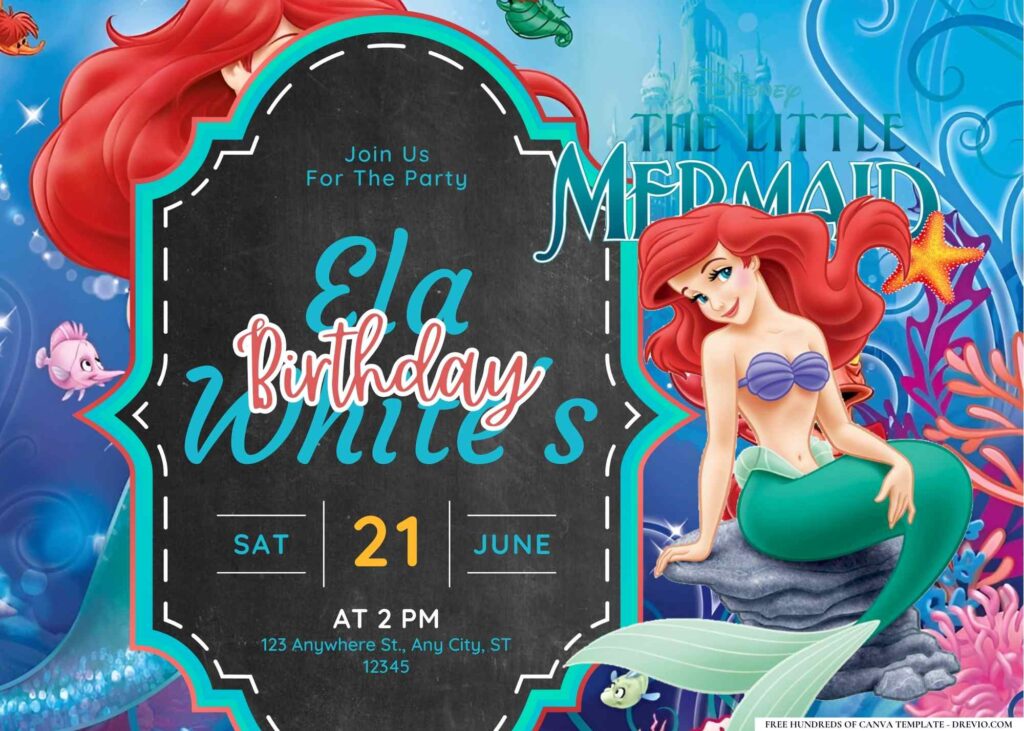
A couple Saturdays ago, Charlotte was sitting at the kitchen island coloring mermaids while I was trying to finish my coffee before it turned into iced coffee… again. She looked up and said, “Mom, can my birthday invitation have Ariel, but not look like everyone else’s?” Honestly? Fair question. I opened Canva right after breakfast, started playing with a few ideas, and somehow spent way too long deciding between coral pink and seafoam green.
18+ Little Mermaid Invitations | Free Canva Templates 2026
If you’ve ever searched for a Little Mermaid Invitation, you’ve probably noticed they all kind of blur together after a while. A lot of them are cute, don’t get me wrong, but they all have that same dark underwater background with random seashells tossed everywhere. I wanted something that actually felt bright, playful, and like the Disney movie my kids are obsessed with right now.
Dive Into the Magic: Why Choose Little Mermaid Invitations?
Capturing the Enchantment of Ariel’s World
I learned pretty quickly that kids don’t notice the tiny design details we obsess over… but they absolutely notice the overall vibe.
Charlotte didn’t care whether the seashell illustration matched the coral exactly. She cared that it looked “like Ariel’s happy place.” Louise? He immediately pointed at Sebastian and spent five minutes pretending to sing “Under the Sea.”
So that’s kind of where I started designing.
Instead of making everything dark blue like you’re actually underwater, I leaned into colors kids naturally gravitate toward:
soft aqua
turquoise
coral pink
lavender
sandy beige
little pops of gold
pearl white
It instantly felt lighter.
I also mixed in little details that make kids stop and stare for a second:
bubbles floating around the text
tiny starfish in the corners
friendly dolphins
colorful coral
sea turtles
pearls
seashell frames
seaweed that wraps around the invitation without covering the words
One thing I ended up changing was the typography.
At first I used one of those super swirly princess fonts because… well… mermaids.
Big mistake.
It looked adorable until I printed a test copy. My husband Andrew looked at it for about three seconds before saying,
“I literally can’t read what time the party starts.”
And he was right.
So I switched the important information into a cleaner rounded font and only kept the fancy lettering for the birthday girl’s name. It looked way better and nobody had to squint.
Honestly, that’s one of those tiny things that makes invitations feel expensive even when they cost basically nothing.
The Benefits of Using FREE Canva Templates
I keep coming back to Canva because I genuinely don’t have the energy to learn complicated design software.
Some weeks I’m helping Charlotte with homework while Louise is asking for another snack every six minutes. The last thing I need is software that makes me watch twelve tutorials just to move a text box.
Canva is kind of perfect for busy moms because you can:
swap colors in seconds
drag photos around
change fonts without breaking the whole design
edit everything from your phone while waiting at soccer practice
save multiple versions if your kid changes their mind (which… happens a lot)
The best part?
You don’t have to start from scratch.
That’s honestly the biggest win.
Getting Started: How to Access Your FREE Templates
CUSTOM YOUR FREE LITTLE MERMAID INVITATIONS HERE!
Step-by-Step Download Guide
The whole process took me maybe fifteen minutes once I stopped second-guessing every color.
Here’s basically what I did:
Opened the Canva template link.
Clicked “Use Template.”
Changed Charlotte’s name.
Updated the date, address, and RSVP.
Swapped one illustration because she wanted more dolphins than fish. Priorities.
Downloaded it as a PDF for printing and a PNG for texting family.
Done.
No weird software.
No downloading fonts.
No trying to line everything up manually.
Essential Canva Features for Beginners
If you’re brand new to Canva, don’t overthink it.
Seriously.
The features I actually use every single birthday are:
Duplicate Page (because my kids always want two versions)
Position (helps keep everything lined up)
Background Remover if I’m adding one of the kids’ photos
Color Picker when I want everything to match
Resize text without stretching it weirdly
One thing I didn’t realize for the longest time?
You can zoom way in when editing.
I used to leave tiny spacing mistakes everywhere because I was editing at normal size. Once I figured that out, everything looked so much cleaner.
Personalize Your Under-the-Sea Masterpiece
Customizing Text, Fonts, and Colors
This is honestly the fun part.
Charlotte wanted everything pink.
Then five minutes later she wanted purple.
Then she decided Ariel’s tail should be greener.
Kids are basically tiny creative directors.
I finally settled on a mix of seafoam green, coral, lavender, and turquoise because it still looked magical without becoming a rainbow explosion.
For fonts, I usually mix two.
One playful script for the birthday child’s name.
One clean font for everything parents actually need to read.
Trust me.
Nobody wants to text you asking,
“Wait… is the party at 2:00 or 7:00?”
Adding Photos and Graphics for a Unique Touch
I wasn’t even planning to add Charlotte’s picture.
Then Andrew suggested using one from our beach vacation last summer where she was wearing a sparkly teal swimsuit.
It fit the theme so perfectly that I couldn’t not use it.
I just cropped it into a circle, added a pearl border around it, and suddenly the invitation felt way more personal.
If photos aren’t your thing, that’s totally fine too.
Some cute extras I like adding are:
little treasure chests
extra bubbles
tiny fish schools
jellyfish
pearl garlands
sea horses
sea stars
watercolor coral
The trick is stopping before it gets too busy.
I definitely crossed that line once.
There were so many bubbles that Andrew jokingly asked if the party was underwater or inside a washing machine.
Fair.
I deleted about half of them.
Instant improvement.
Sizing and Formatting for Different Devices
I always save two versions now because I learned this the hard way.
One PDF for printing.
One PNG for texting grandparents, cousins, neighbors, and every parent in Charlotte’s class group chat.
The PDF stays super crisp for prints.
The PNG looks much nicer on phones.
I also save a backup copy inside Canva before downloading anything.
Mostly because I’ve accidentally deleted entire text boxes more times than I’d like to admit.
What I Actually Ended Up Doing
I thought this invitation was going to take maybe twenty minutes.
It somehow turned into almost an hour because I kept changing tiny things no one else would probably notice.
The funniest mistake?
I originally used pale yellow lettering over a light aqua background because it looked gorgeous on my monitor.
Then I printed a test page at home.
Oops.
The party details basically disappeared.
I ended up switching everything to a darker coral color and increasing the font size just a little bit. It wasn’t nearly as “Pinterest perfect,” but every single word was easy to read, and honestly that’s what matters.
Another thing I almost forgot was leaving enough space around the RSVP section. I had tucked it into the bottom corner next to a bunch of coral and seashells, and it felt cramped. Moving everything up by just a little made the whole invitation breathe.
Tiny change.
Huge difference.
Andrew glanced over my shoulder and said, “Yeah… that one actually looks finished.”
I’ll take that as a compliment.
A Few Templates I Kept Coming Back To
These were the ones I saved because they each felt a little different instead of looking like copies of each other.
Classic Ariel Party
Perfect if your little one wants the full princess moment with bright ocean colors, seashells, and plenty of sparkle.
Soft Watercolor Mermaid
This one feels a little calmer with pastel blues, seafoam greens, and hand-painted coral details. I’d totally use it for younger kiddos turning three or four.
Under-the-Sea Adventure
A fun option for kids who love dolphins, turtles, fish, and treasure maps just as much as Ariel herself.
Pink Mermaid Dreams
If your birthday girl insists everything has to be pink (been there), this one mixes blush tones with little pearls and soft lavender accents without losing the ocean vibe.
Tropical Mermaid Celebration
This design leans into palm leaves, sunshine, coral reefs, and beach colors, so it’s really cute for summer birthdays or pool parties.
By the time I finished, Charlotte walked by, smiled, and said, “Yep. That’s the one.”
Honestly, that’s usually how I know I’m done.
Printing & Sharing Your Magical Invites
Best Practices for At-Home Printing
I still print one copy at home before I send anything to Walgreens. Every. Single. Time.
Not because my printer is amazing (it’s definitely not), but because it’s the fastest way to catch little mistakes. One time I realized I had typed Saturday, June 18 when the party was actually Sunday. Thankfully I noticed before printing twenty copies.
If you’re printing at home, cardstock makes a huge difference. Regular printer paper works if you’re just sending a quick invite to family, but cardstock instantly makes it feel like something you actually bought.
I usually recommend:
Matte cardstock if your invitation has lots of text. It’s easier to read and doesn’t leave fingerprints all over it after everyone passes it around.
Glossy cardstock if you really want the ocean colors to pop. The blues and corals look gorgeous, especially with bubble and water effects.
Honestly, I lean toward matte most of the time. It just feels a little more “finished” to me.
Professional Printing Services vs. DIY
Most birthdays, I don’t even bother buying expensive photo paper anymore.
I upload my finished Canva PDF to Walgreens, order 5×7 photo prints, and pick them up while I’m already out running errands. Around my area, they’re usually about $0.20 per print during photo promotions, which is honestly hard to beat.
I’ve also used Staples when I wanted thicker cardstock instead of photo prints. Their colors always come out really consistent, especially if your invitation has lighter pastel shades.
If I had to recommend one?
Walgreens for affordable photo prints and super quick pickup.
Staples if you want a more traditional invitation printed on cardstock.
Neither one has let me down yet.
Digital Sharing: Email, Social Media, and Messaging Apps
Let’s be real.
Half the parents I know would rather get the invitation in a text message anyway.
I still print a handful for grandparents and close friends because they like putting them on the fridge, but everyone else usually gets the digital version.
I download the invitation as a PNG, then send it through:
iMessage
Facebook Messenger
WhatsApp
Email
the class parent group chat
I also save it to my Favorites album because someone always asks, “Can you send the invite again?” about two days before the party.
It’s basically become part of my birthday routine now.
Beyond the Invitation: Little Mermaid Party Planning Tips
Theme Ideas: From Grotto to Under-the-Sea Palace
The invitation usually ends up inspiring the rest of the decorations.
I don’t try to recreate an entire Disney movie or anything. That sounds exhausting.
Instead, I pick a few details and repeat them throughout the party so everything feels connected.
For Charlotte’s party, we kept seeing:
seashells
pearl garlands
coral
bubbles
turquoise tablecloths
little treasure chests
That was enough to make everything feel like it belonged together.
If you’re looking for inexpensive decoration ideas, these are honestly where I get most of my inspiration:
Amazon Party Decorations: https://www.amazon.com/s?k=little+mermaid+birthday+decorations
Etsy Party Decor: https://www.etsy.com/search?q=little+mermaid+birthday
Pinterest Ideas: https://www.pinterest.com/search/pins/?q=little%20mermaid%20birthday
I rarely copy one setup exactly. I usually steal one idea here, another one there, and somehow it all works.
Decorations, Games, and Food Inspiration
The cheapest party activities always seem to be the biggest hits.
Some favorites from our party:
Plastic seashell treasure hunt in the backyard.
“Pin the Tail on the Mermaid.”
Bubble machine outside.
Mermaid coloring station.
DIY bracelet table with pearl beads.
The bubble machine might’ve been the best twenty bucks I’ve spent.
Even the older kids kept running through the bubbles.
For food, I didn’t overcomplicate anything.
We had:
blue fruit punch
goldfish crackers
fruit cups
popcorn
cupcakes with teal frosting
gummy sharks
chocolate pearls
The kids were happy.
That’s honestly all I cared about.
Matching Party Favors and Thank You Cards
This is one of those little details I didn’t appreciate until recently.
Matching thank-you cards make everything feel more complete, especially if they use the same colors and illustrations as the invitation.
For party favors we kept it simple:
shell-shaped stickers
mini bubble wands
mermaid temporary tattoos
seashell hair clips
little notebooks
Nothing expensive.
Just fun little things kids actually use instead of tossing in a drawer forever.
After the Party…
My favorite part wasn’t even during the party.
It was the next morning.
Charlotte was sitting on the living room floor looking through the leftover invitations we’d printed, and she quietly asked if she could keep one in her memory box.
That honestly made all the tiny edits worth it.
A couple of parents mentioned they loved how easy the invitation was to read. One mom even texted asking where I bought it because she assumed I’d ordered it from Etsy.
When I told her it was a free Canva template, she immediately asked for the link.
That’s kind of why I keep sharing these.
Not because they have to look perfect.
Just because making birthdays feel special doesn’t have to cost a fortune.
Sometimes it’s just spending an hour after dinner moving seashells around on Canva while your husband reminds you that nobody else is going to notice the difference between two shades of turquoise.
He’s probably right.
I’m still going to notice, though.
Frequently Asked Questions (FAQ)
Are these templates truly free?
Yep! The templates are free to edit in Canva. Just keep in mind that if you swap in certain premium graphics or fonts, Canva may ask you to purchase those specific elements. I usually stick with the free library and still end up with something really cute.
Do I need a Canva Pro account?
Nope.
I’ve made plenty of invitations using only Canva’s free version. Pro is nice if you want access to more graphics or the Background Remover, but it’s definitely not required.
Can I edit them on my phone?
Absolutely.
I’ve changed RSVP times while sitting in the school pickup line more than once. The Canva app works surprisingly well for quick edits, although I still prefer my laptop when I’m moving a lot of design elements around.
What if I need help with customization?
One thing that helped me was duplicating the original template before making changes. That way, if I accidentally deleted something (which I’ve definitely done), I could always go back to the untouched version.
And honestly, don’t stress about making everything Pinterest-perfect.
Kids notice the colors, the mermaids, and seeing their own name on the invitation way more than they notice perfect spacing or perfectly matched fonts.
If your child smiles the second they see it, I’d call that a win.