
Hey Tayo….! Your kids certainly know the character through the kid’s movie. Tayo is the name of a cartoon character, a blue bus. Tayo is a brave and familiar bus, therefore this character is very popular among kids.
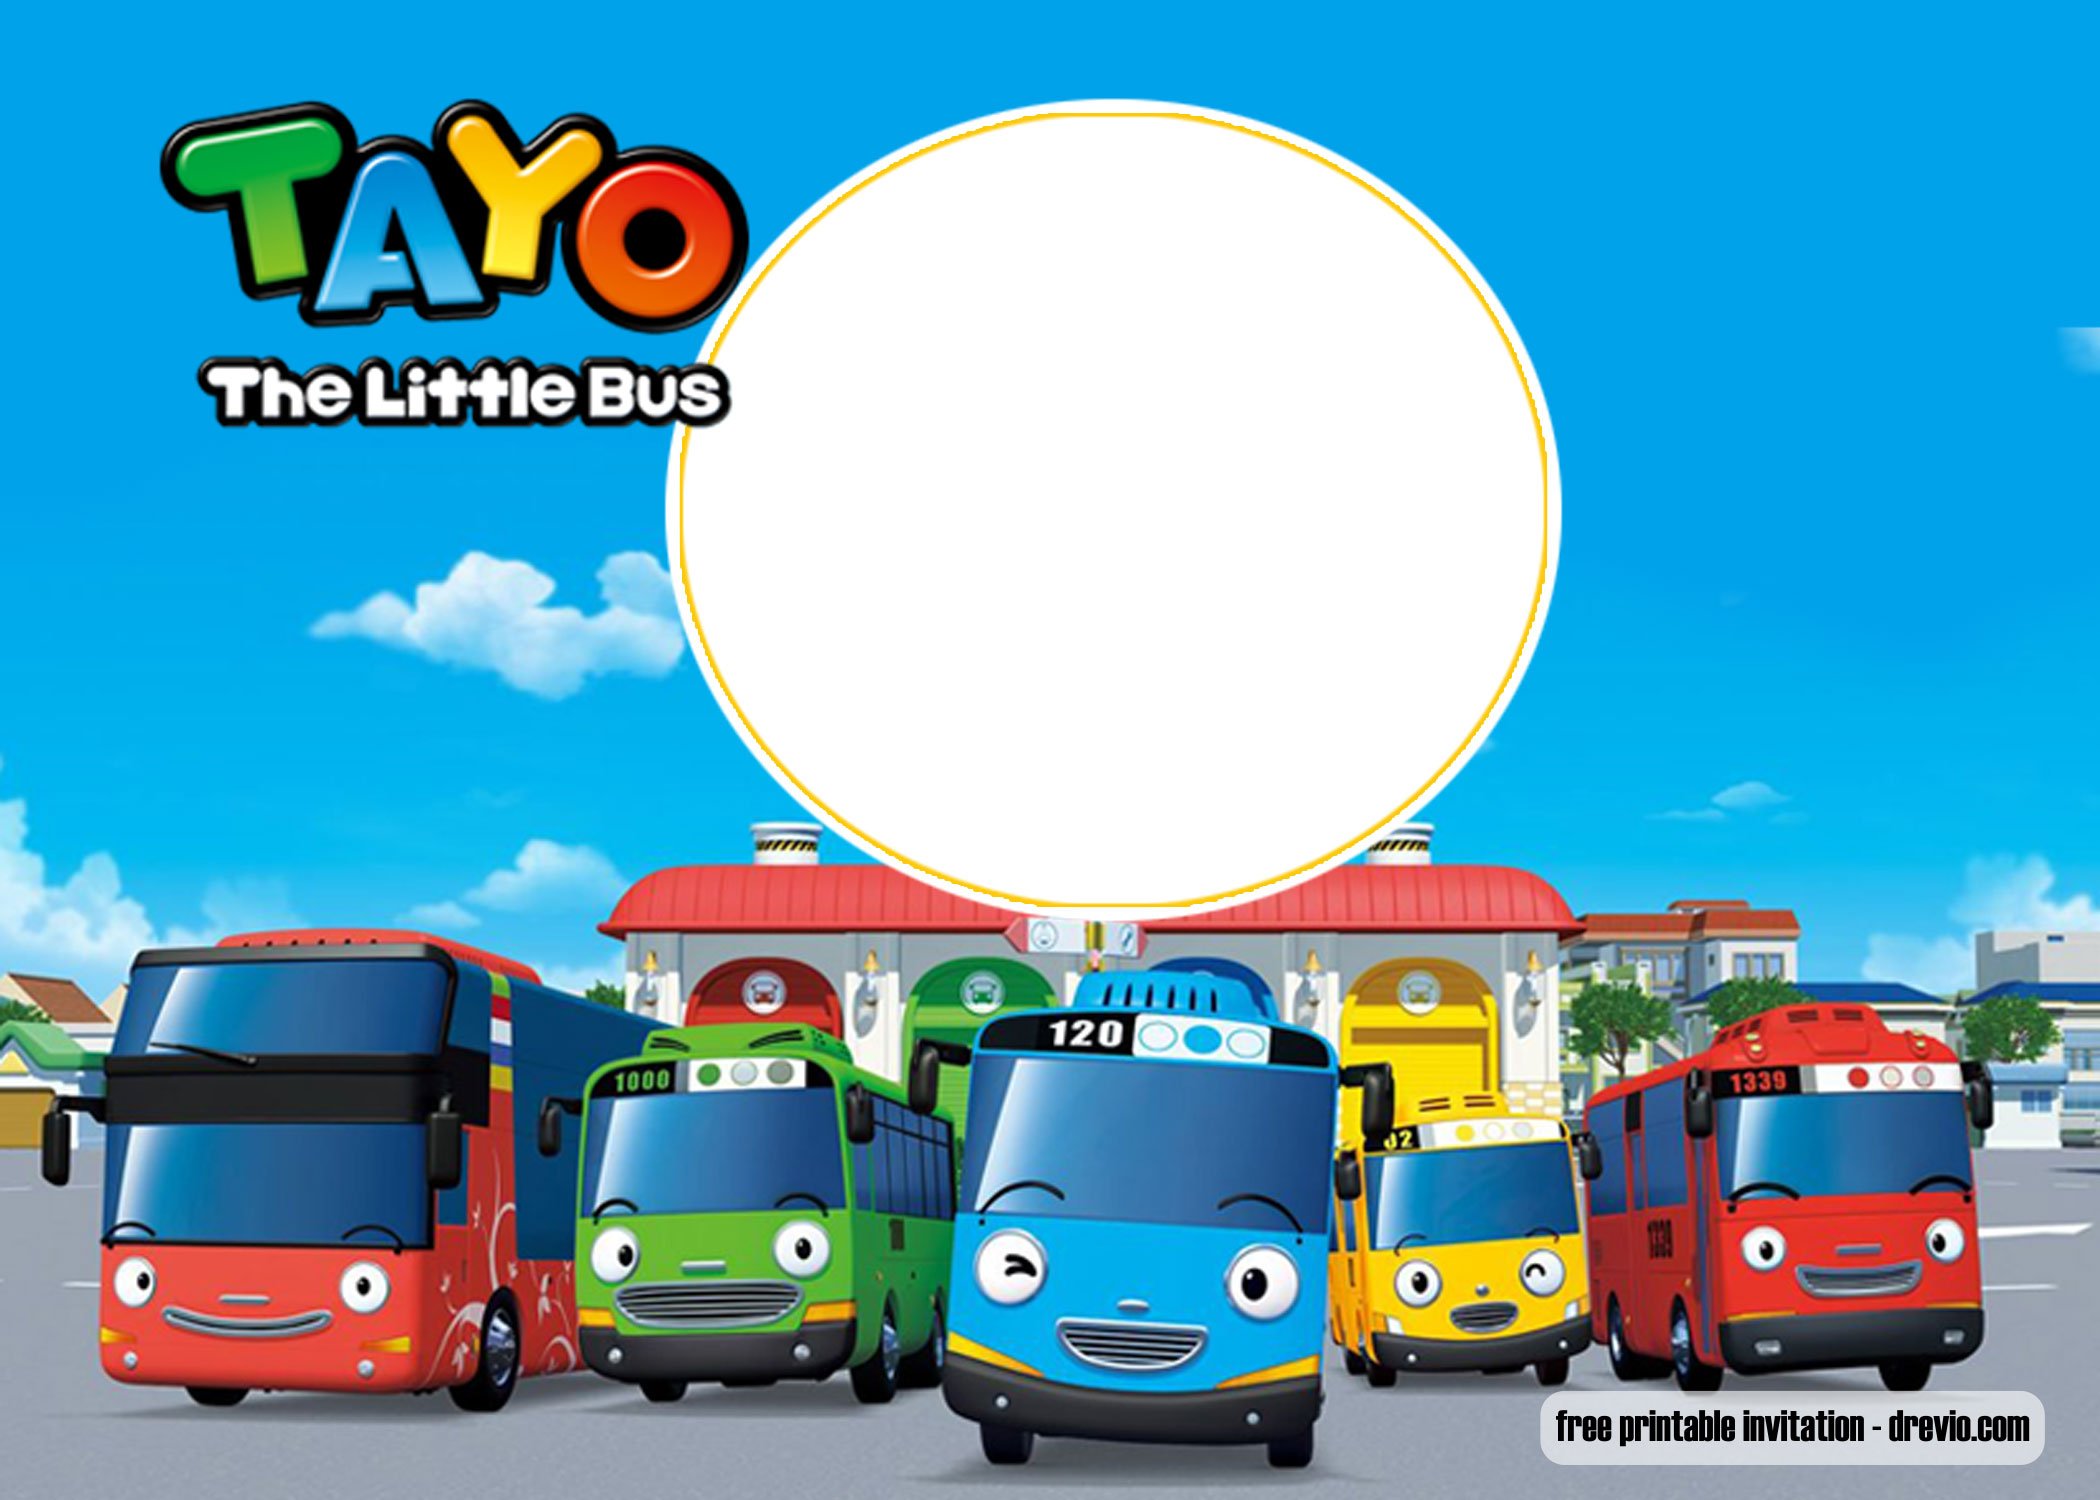
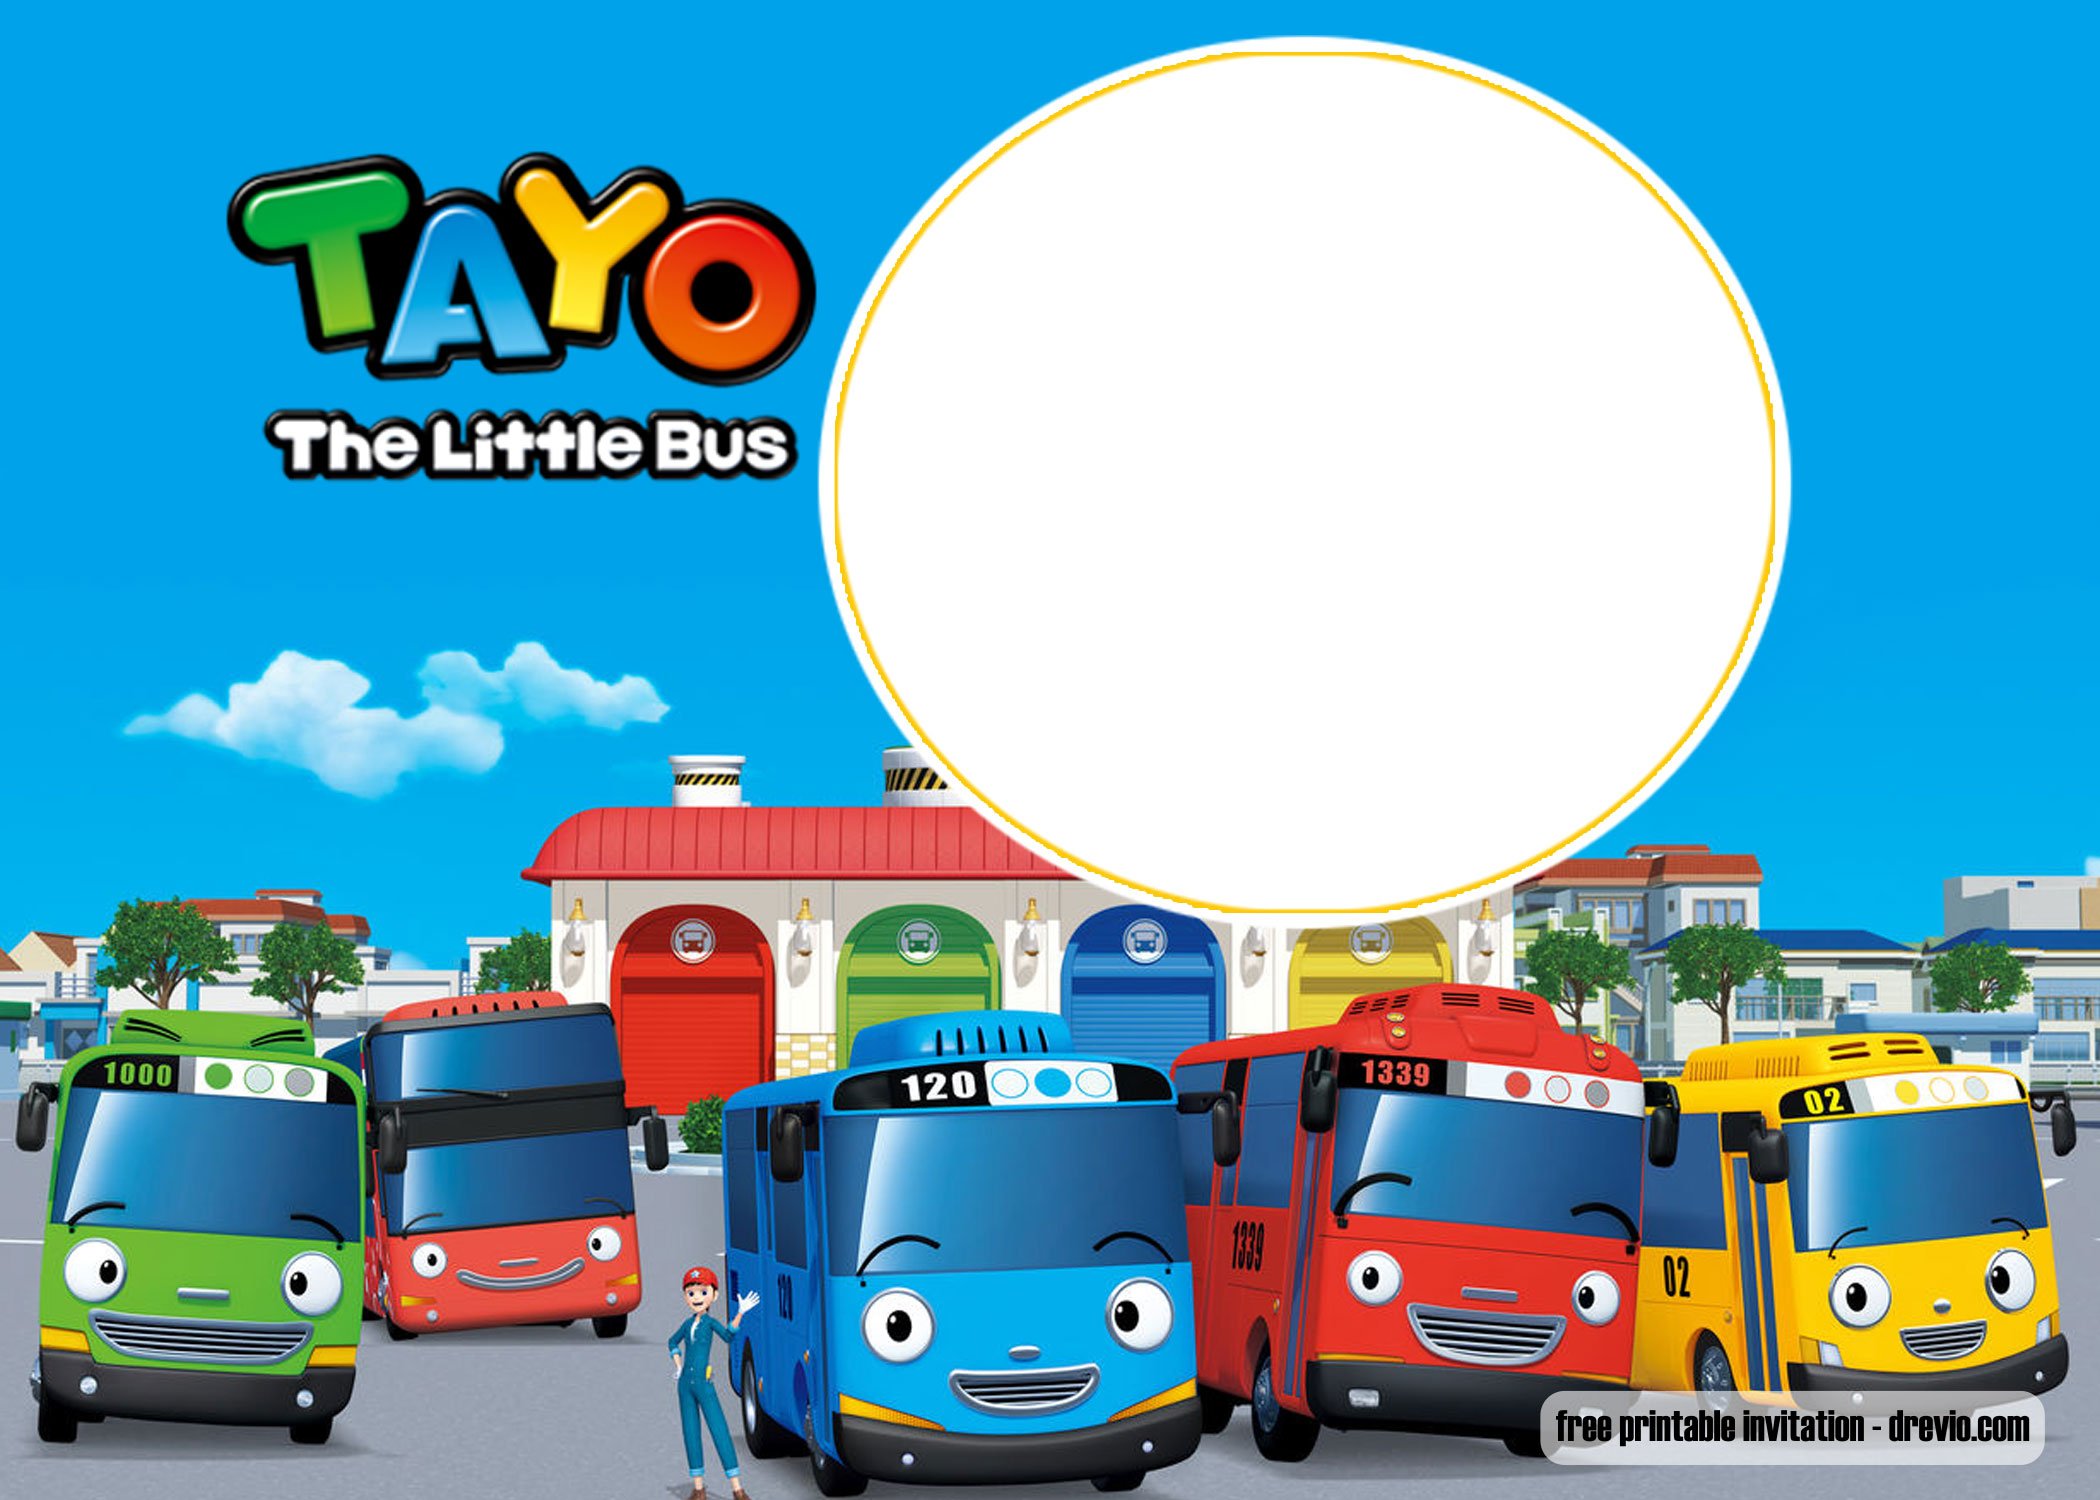
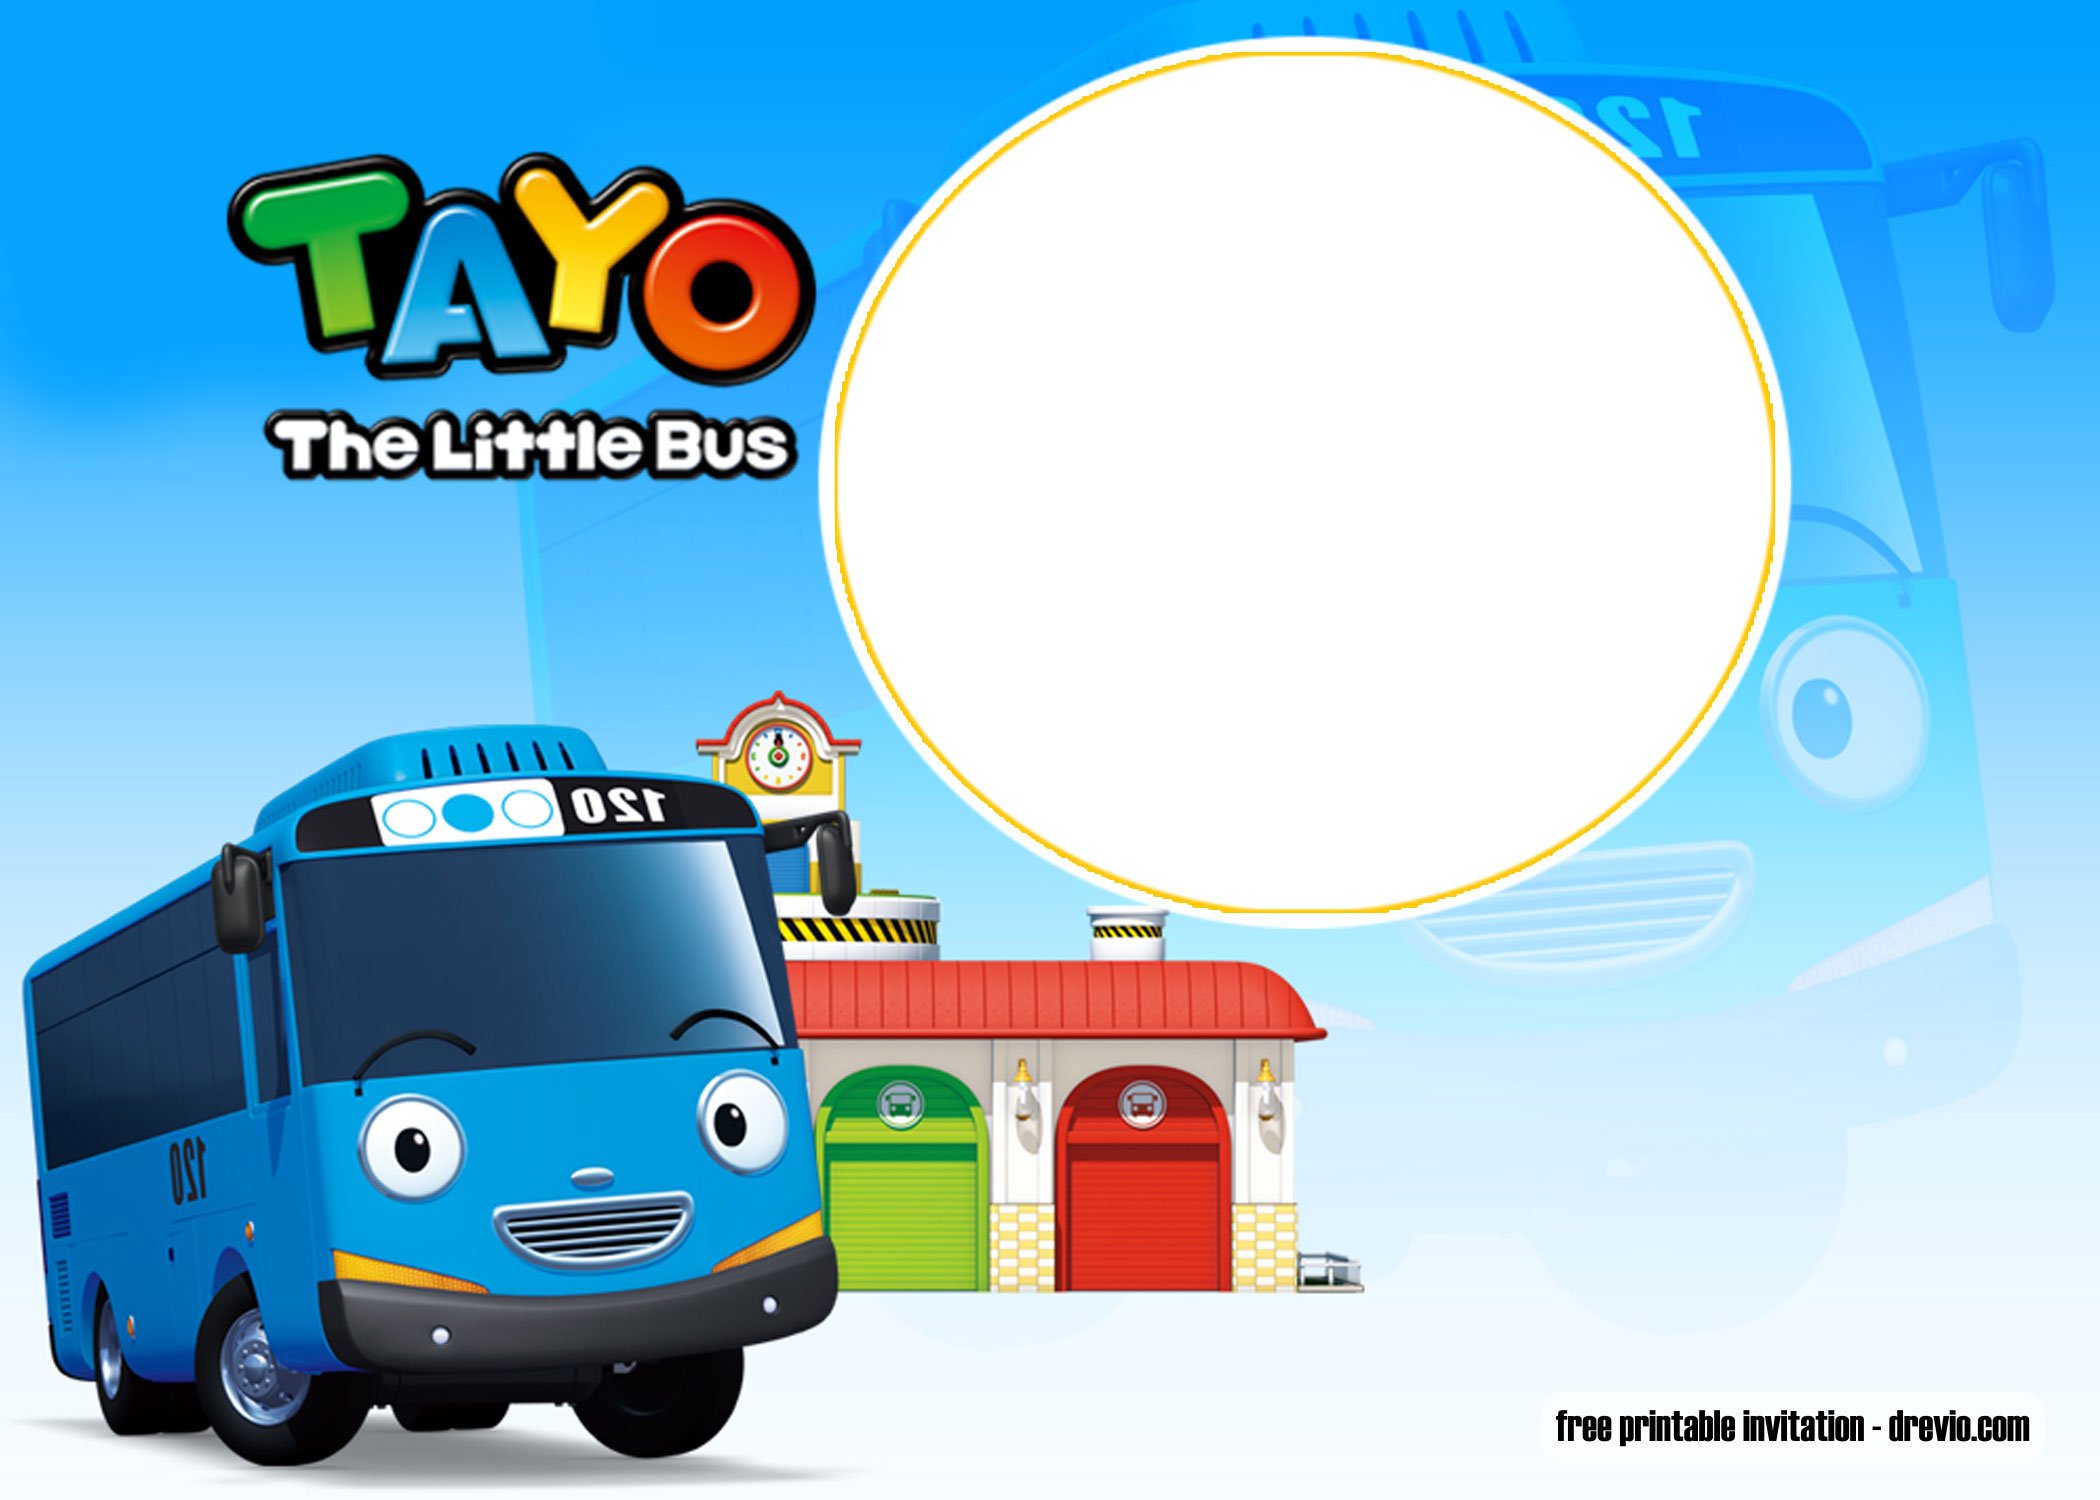
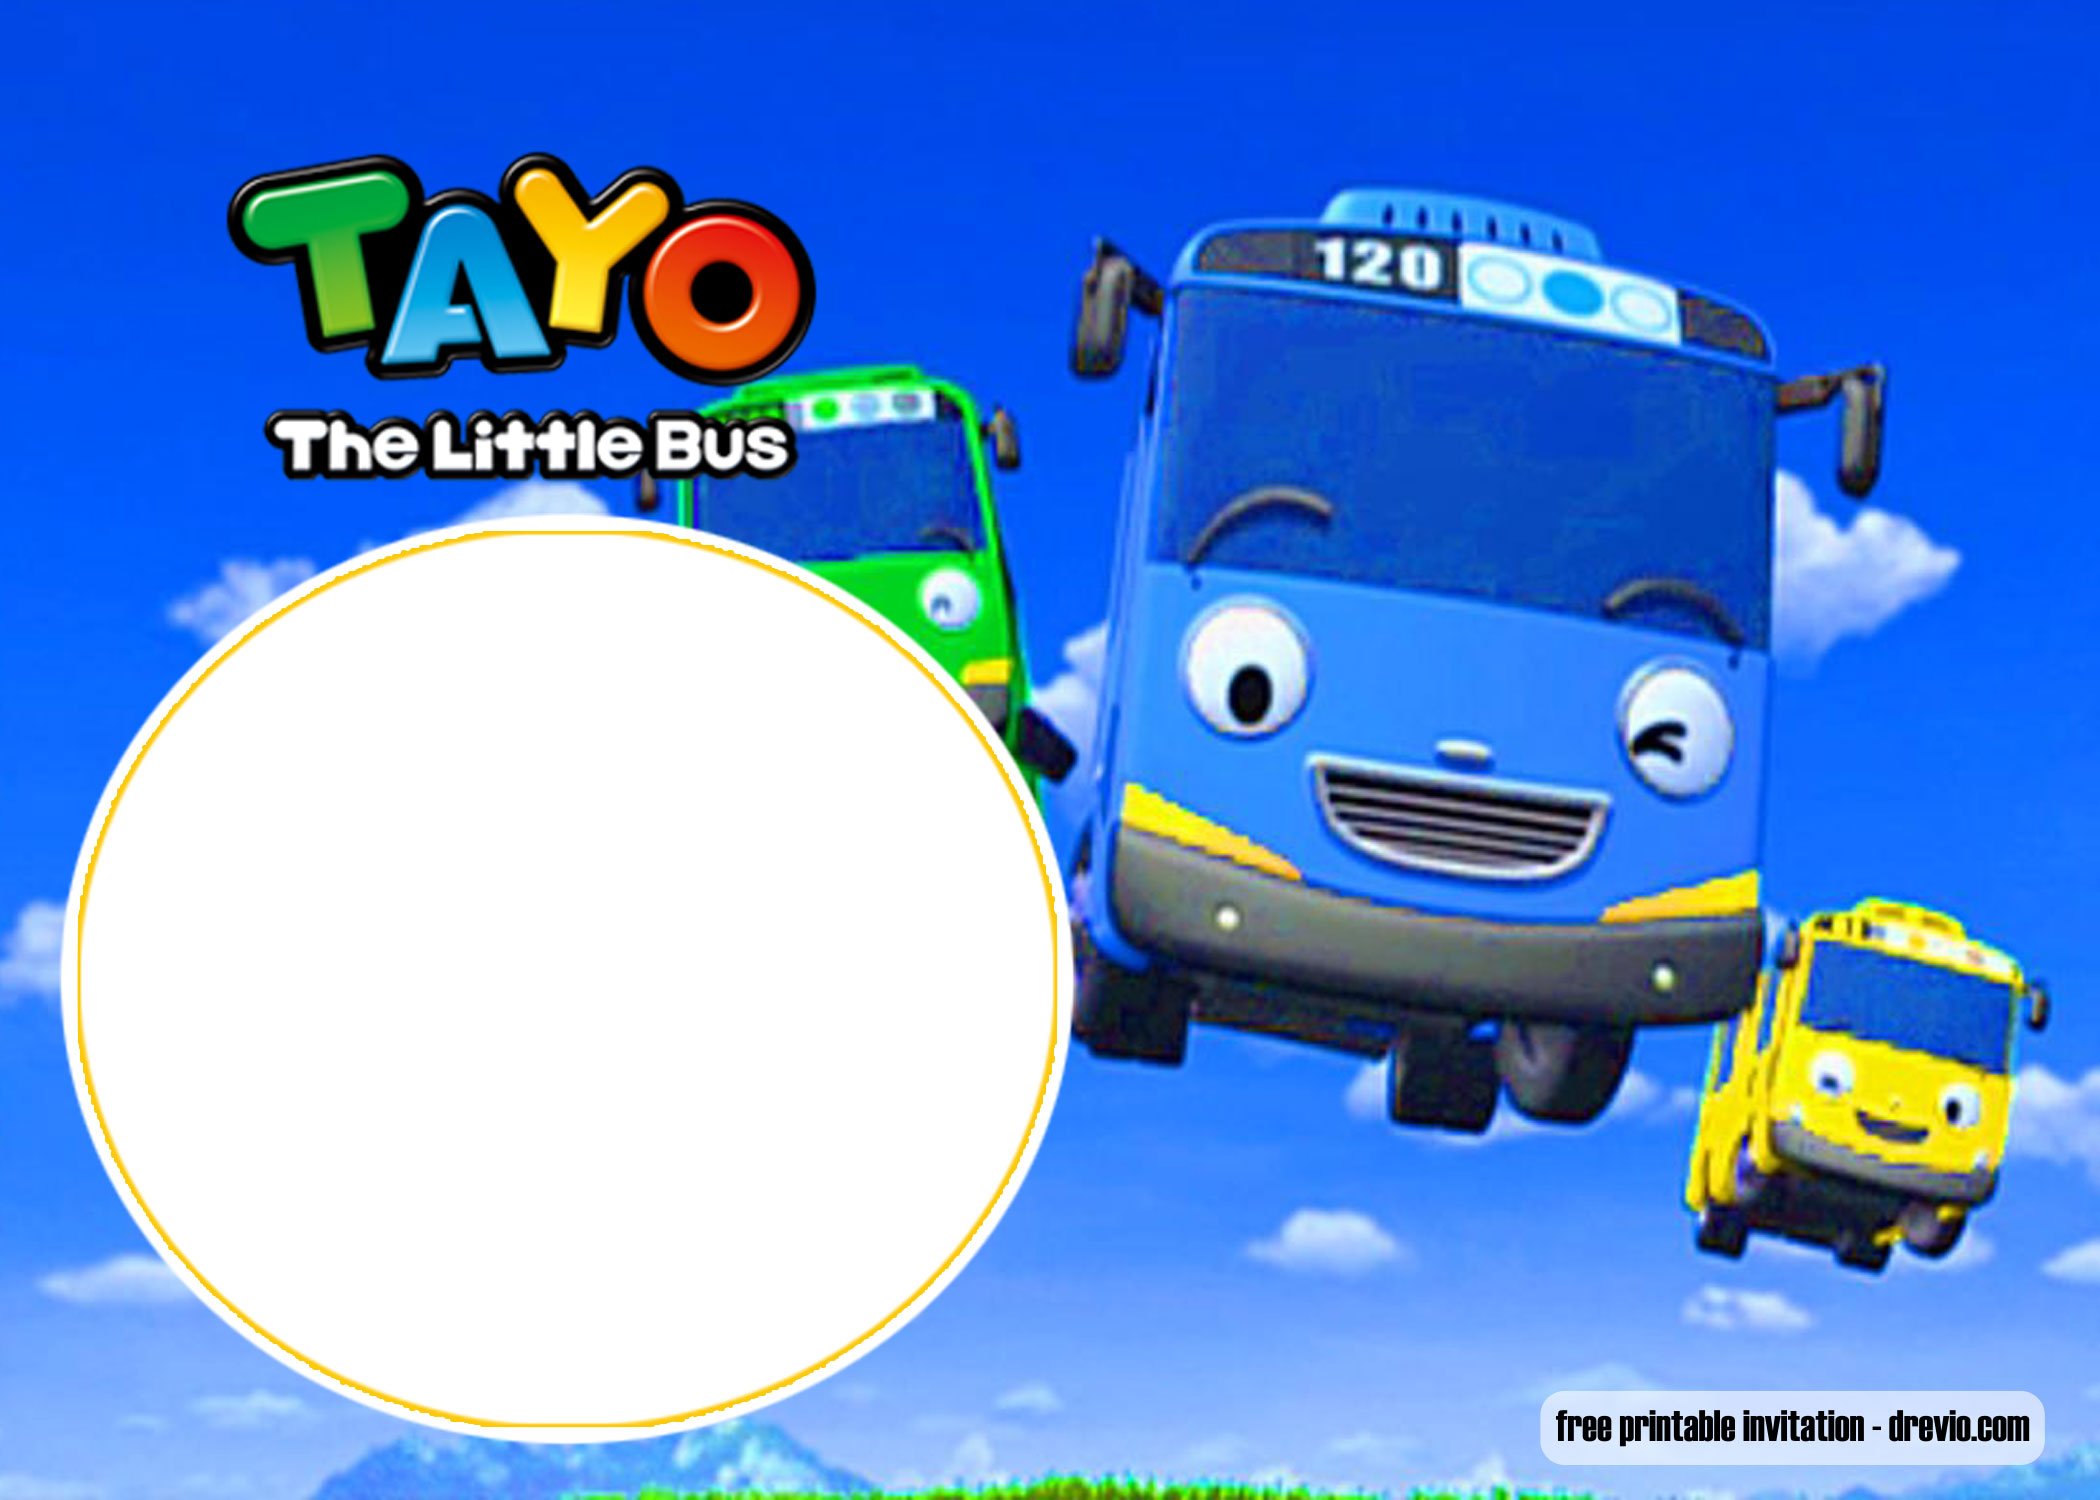
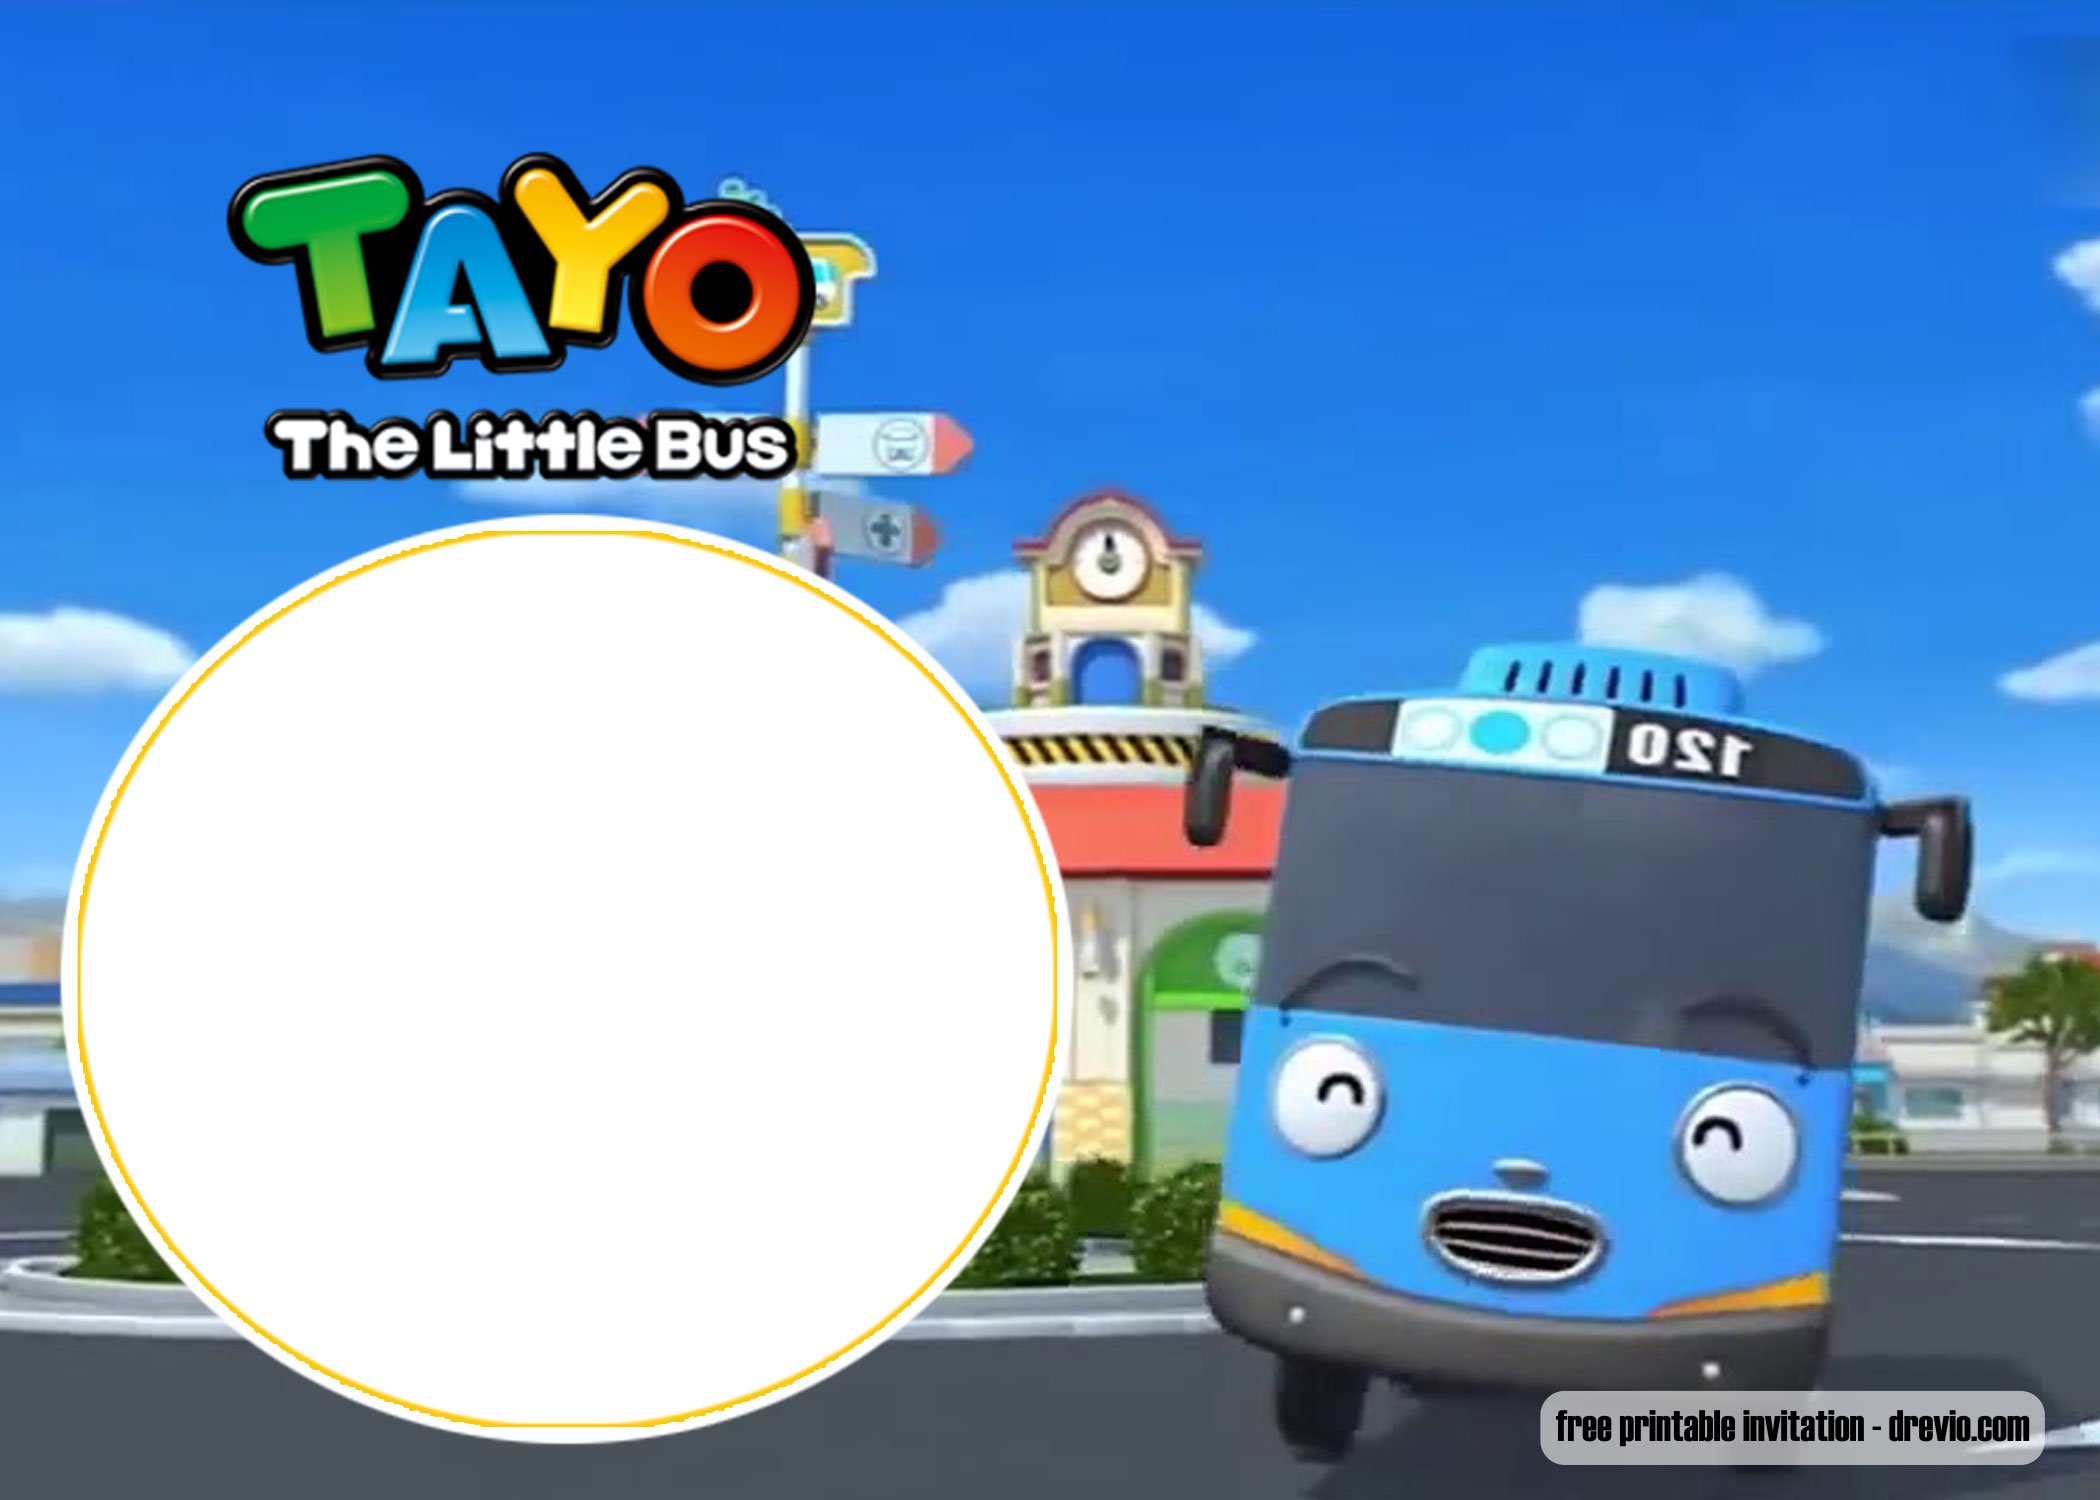
The design of this birthday invitation is Tayo and his friends in front of a bus station. The background colour is blue with a circle blank space in the upper middle of the design. Then there is wording “TAYO, The Little Bus” in the upper left of the template. Now, if you are interested to get this design, maybe you ask me how to get the template?


Free and Easy Printable Template
Select the image you need and copy it. Then open your worksheet in Photoshop and paste it. Maybe you need to customize the size because it’s only 7 x 5 inches. If the design is all set, print it!
Because the template is colourful, you need to check your ink supply. Less ink supply will give imperfect printing outcome. Then check the paper. I suggest you to use glossy paper for the best result. After printing the card, write your invitation in the blank space by using a pen or marker. It’s very easy, right?
Well, if you are satisfied with this web, tell your friends and colleagues to join with us. We will give you more excited birthday invitation templates!


